




19 Easy DIY Home Improvement Ideas for Real Everyday Homes
A Saturday morning arrives and the house suddenly looks tired in a way that is hard to explain.
Easy DIY home improvement does not require a contractor, a truck full of tools, or a week off work.
Most of the visible wear in a home comes down to a handful of small surfaces: doors, floors, hardware, grout, trim.
The projects here are sized for ordinary kitchens, bathrooms, hallways, and basements in typical US, UK, and Canadian homes.
A few need a drill and an afternoon; others need little more than a utility knife and a clean surface.
1- Paint a Front Door to Boost Curb Appeal
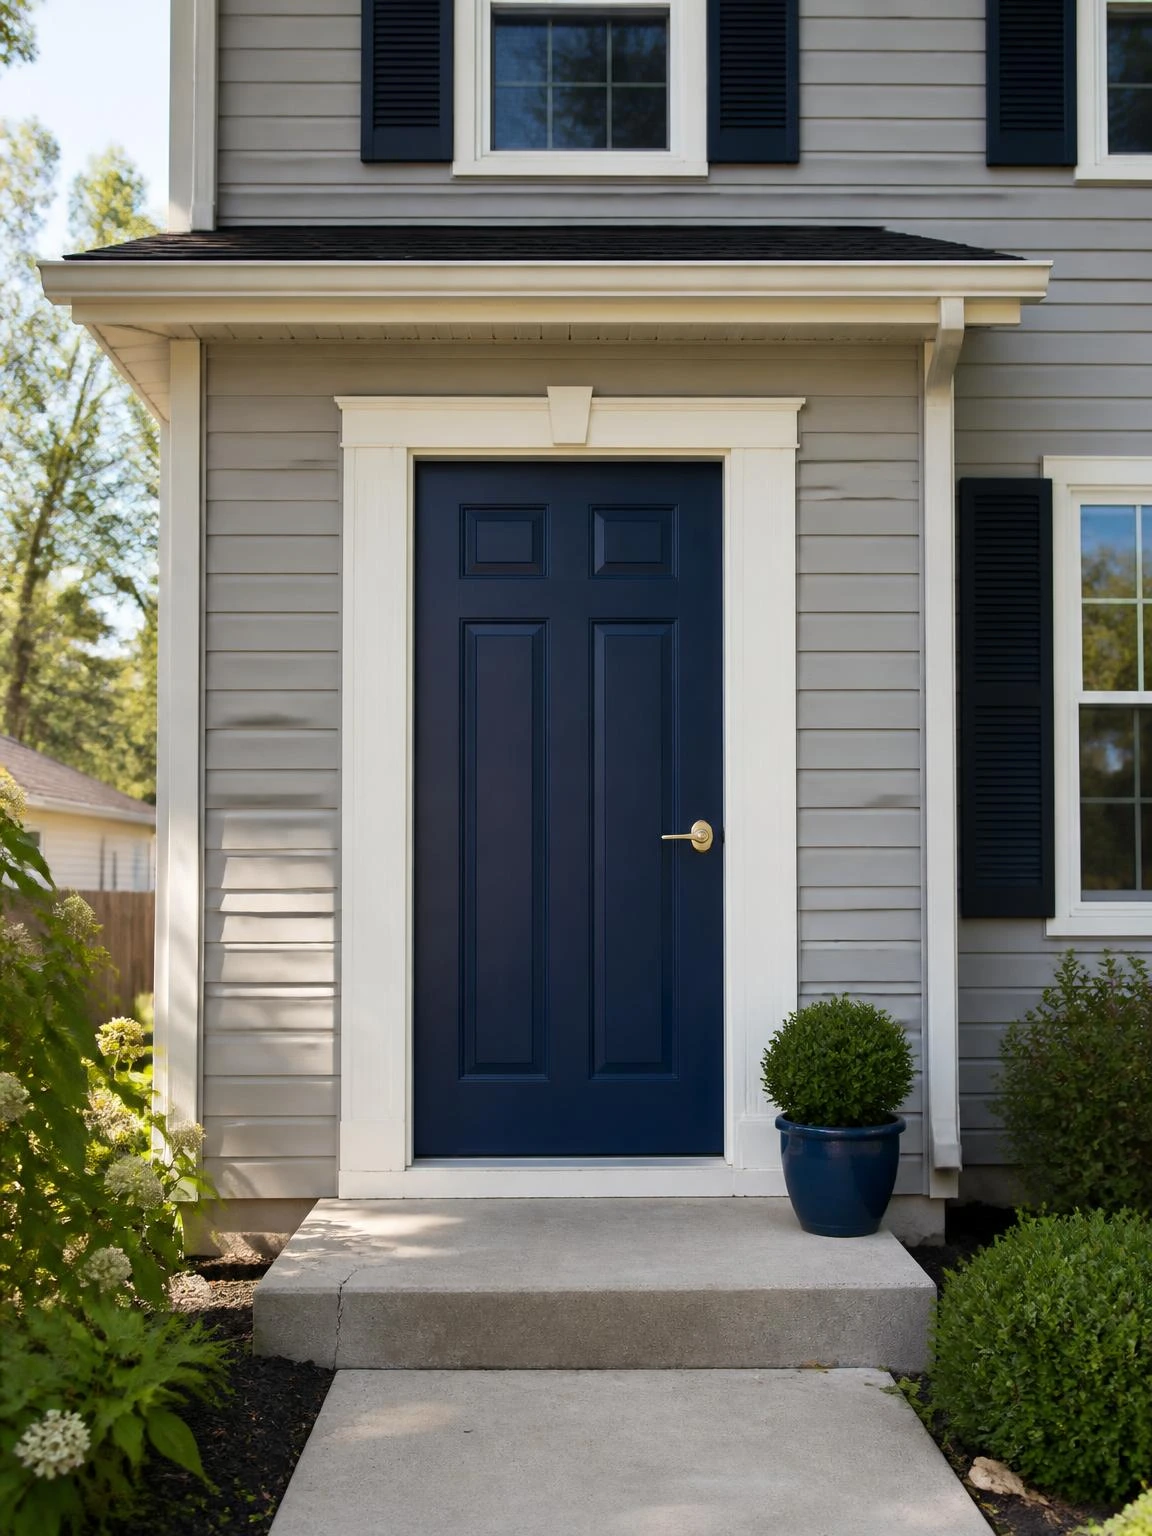
The front door is the first thing a visitor actually focuses on, and a faded or builder-beige door reads as neglected even on an otherwise tidy house.
Navy is one of the most forgiving bold choices because it reads as confident without fighting brick, stone, or most siding colors.
Use exterior latex paint and apply two thin coats rather than one heavy one, allowing each coat to cure fully between applications to prevent peeling and brush drag marks.
A foam roller handles the flat panels quickly, and an angled brush works into the recessed edges where rollers skip.
Brass lever hardware against navy paint earns its keep by making even a modest entry look considered rather than accidental.
Check HOA rules or your tenancy agreement before committing to any color, since some communities restrict exterior paint choices.
2- Install a Peel-and-Stick Backsplash in a Kitchen
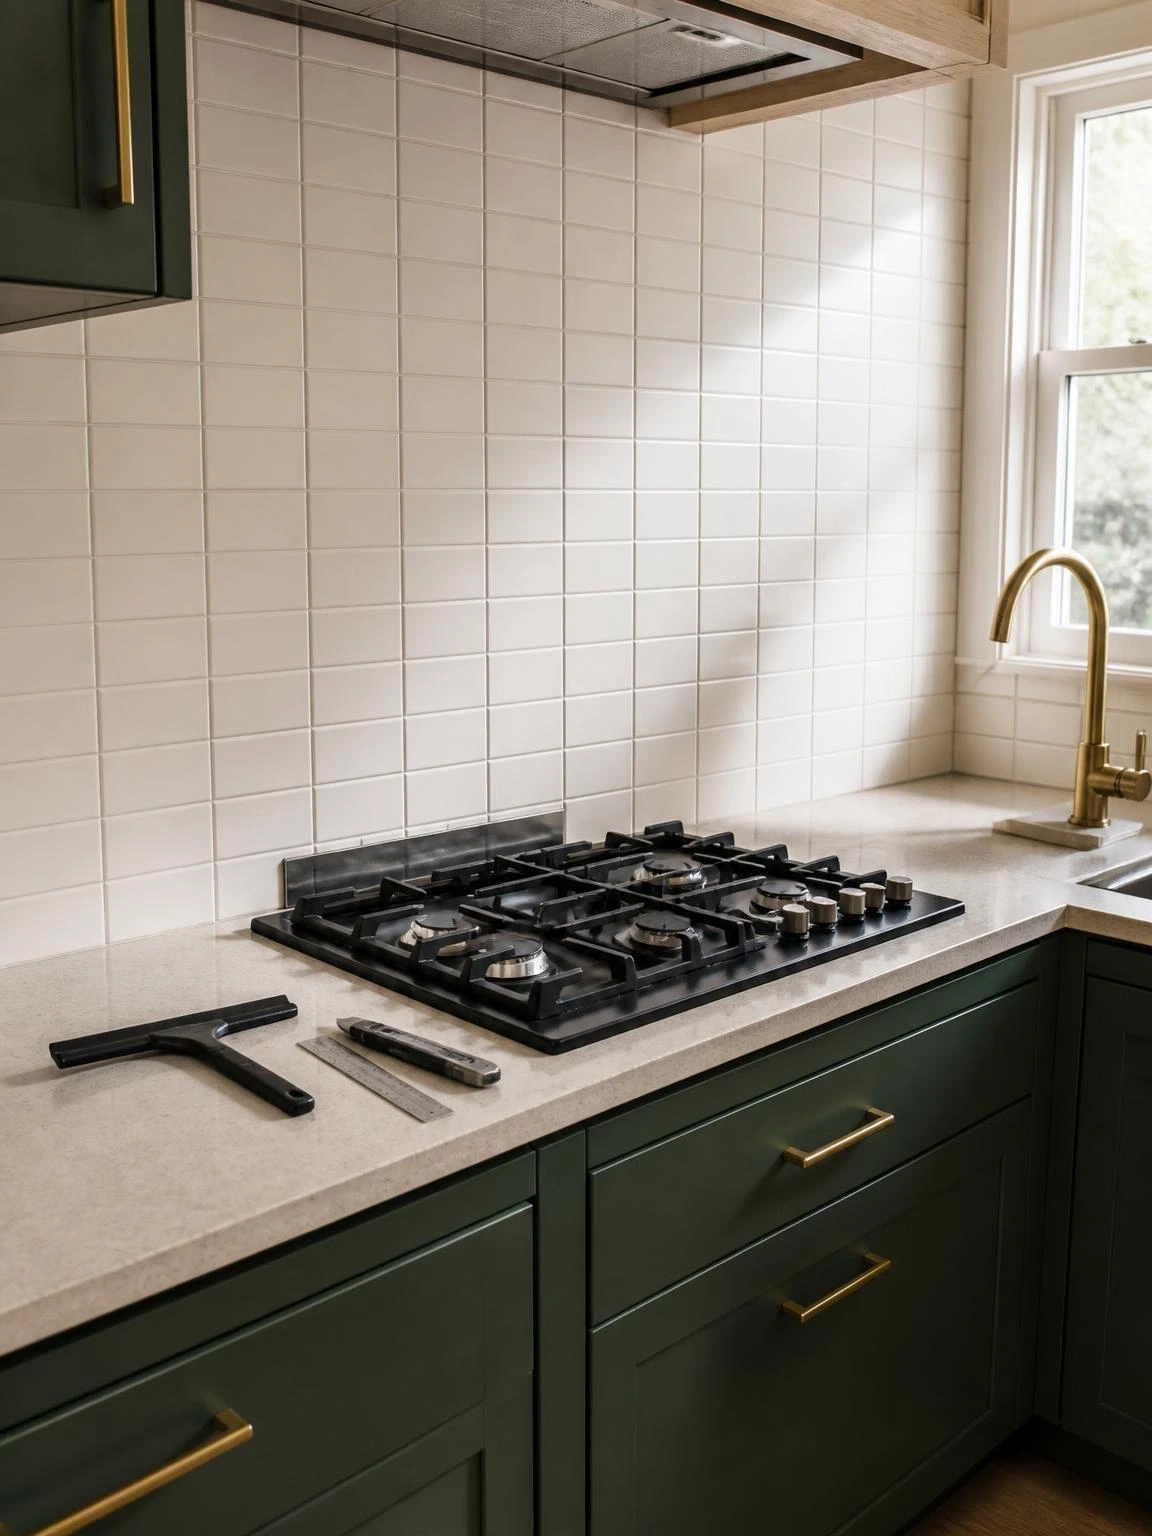
A bare wall behind a stovetop collects grease and looks unfinished, and traditional tile installation is genuinely disruptive for a weekend project.
Peel-and-stick vinyl subway tiles in warm white stack cleanly against forest-green cabinets and pick up a brass faucet without any grout mixing required.
The single most important preparation step is wiping the wall down with isopropyl alcohol and letting it dry completely before peeling any backing; adhesion fails fast on a greasy or damp surface.
A straight-edge ruler and a utility knife handle the edge cuts where tiles meet cabinets or window trim.
A smoothing squeegee pressed firmly across each panel after placement pushes out air pockets that would cause lifting at the corners.
These tiles are not rated for direct high-heat exposure directly behind open-flame burners, so leave a small gap or use a heat-resistant insert near the burner ring.
3- Replace Old Cabinet Hardware in a Bathroom
Drawer pulls are one of the cheapest things to replace and one of the highest-impact changes in a small bathroom.
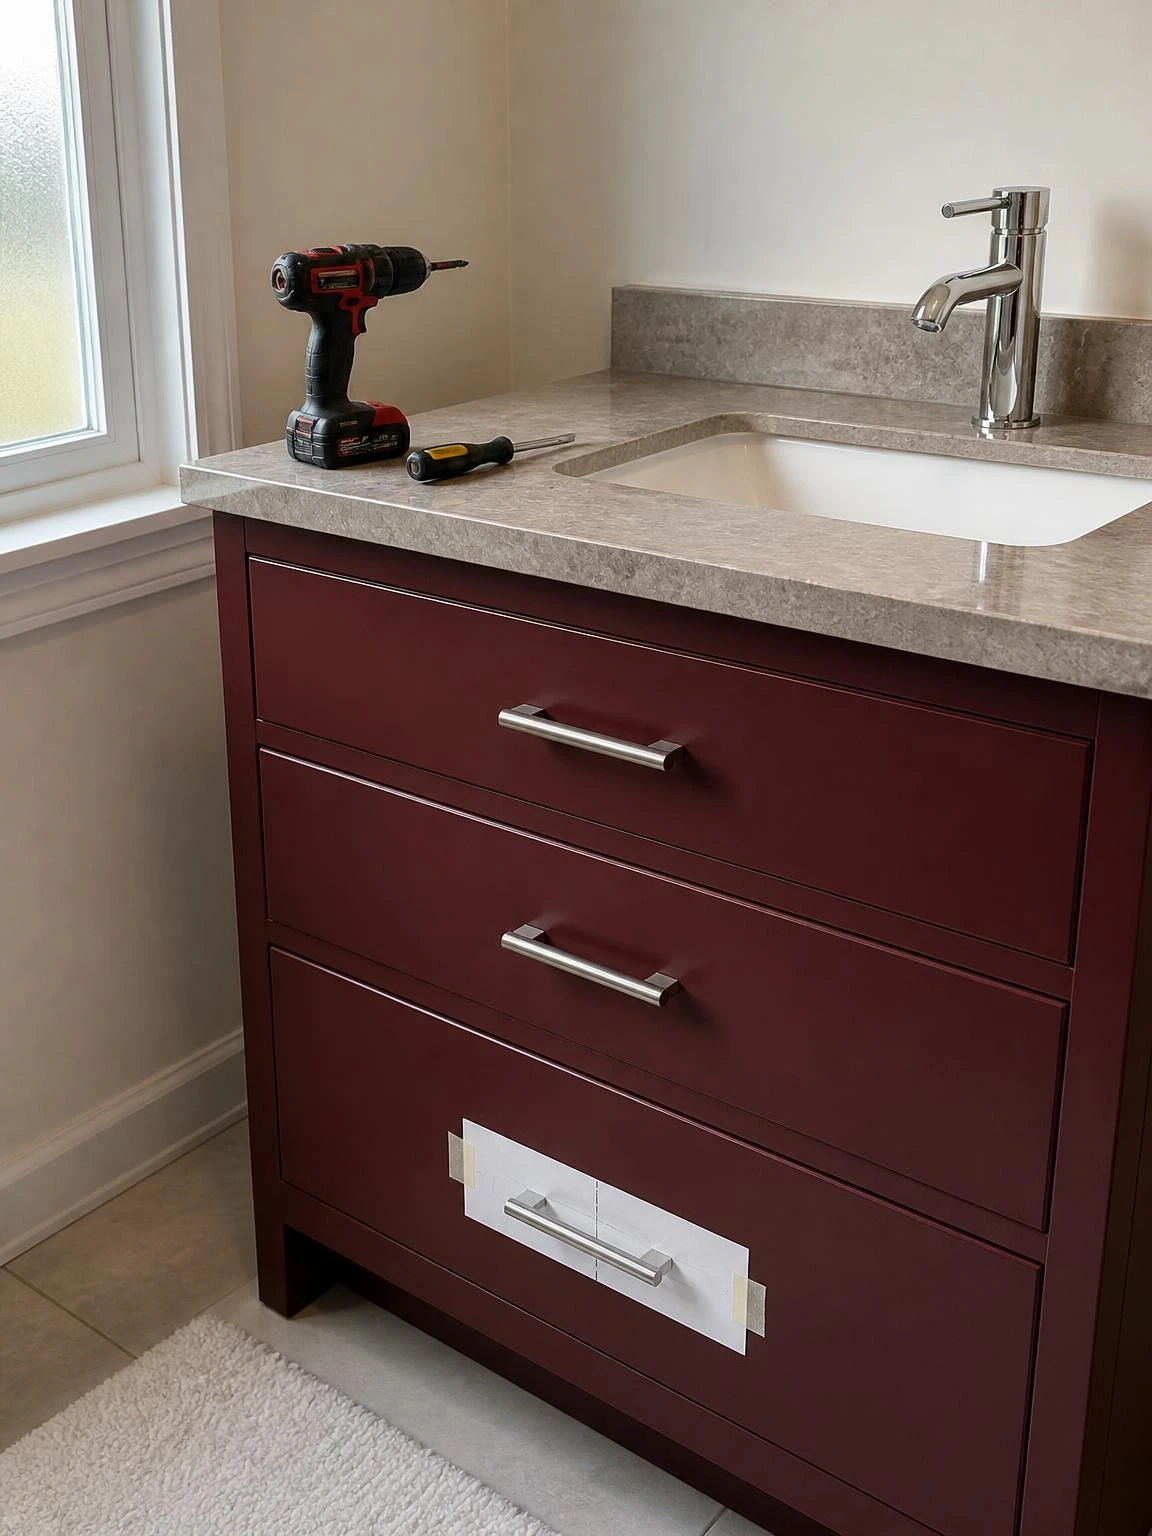
Brushed nickel bar pulls on burgundy-painted cabinet doors shift the whole vanity from dated to intentional, especially when the countertop already has warm gray tones in the stone pattern.
Before ordering new pulls, measure the existing hole spacing center to center, because a mismatch means drilling new holes in finished cabinet faces.
A simple paper template taped to each drawer front before drilling keeps the hole placement identical across every pull without measuring repeatedly.
The job needs only a screwdriver for most flat-pack hardware; a drill comes in only if the holes need enlarging slightly.
Buying one extra pull in the same finish is worth it as insurance against a stripped screw hole or a future replacement need.
4- Add Floating Shelves to a Living Room Wall
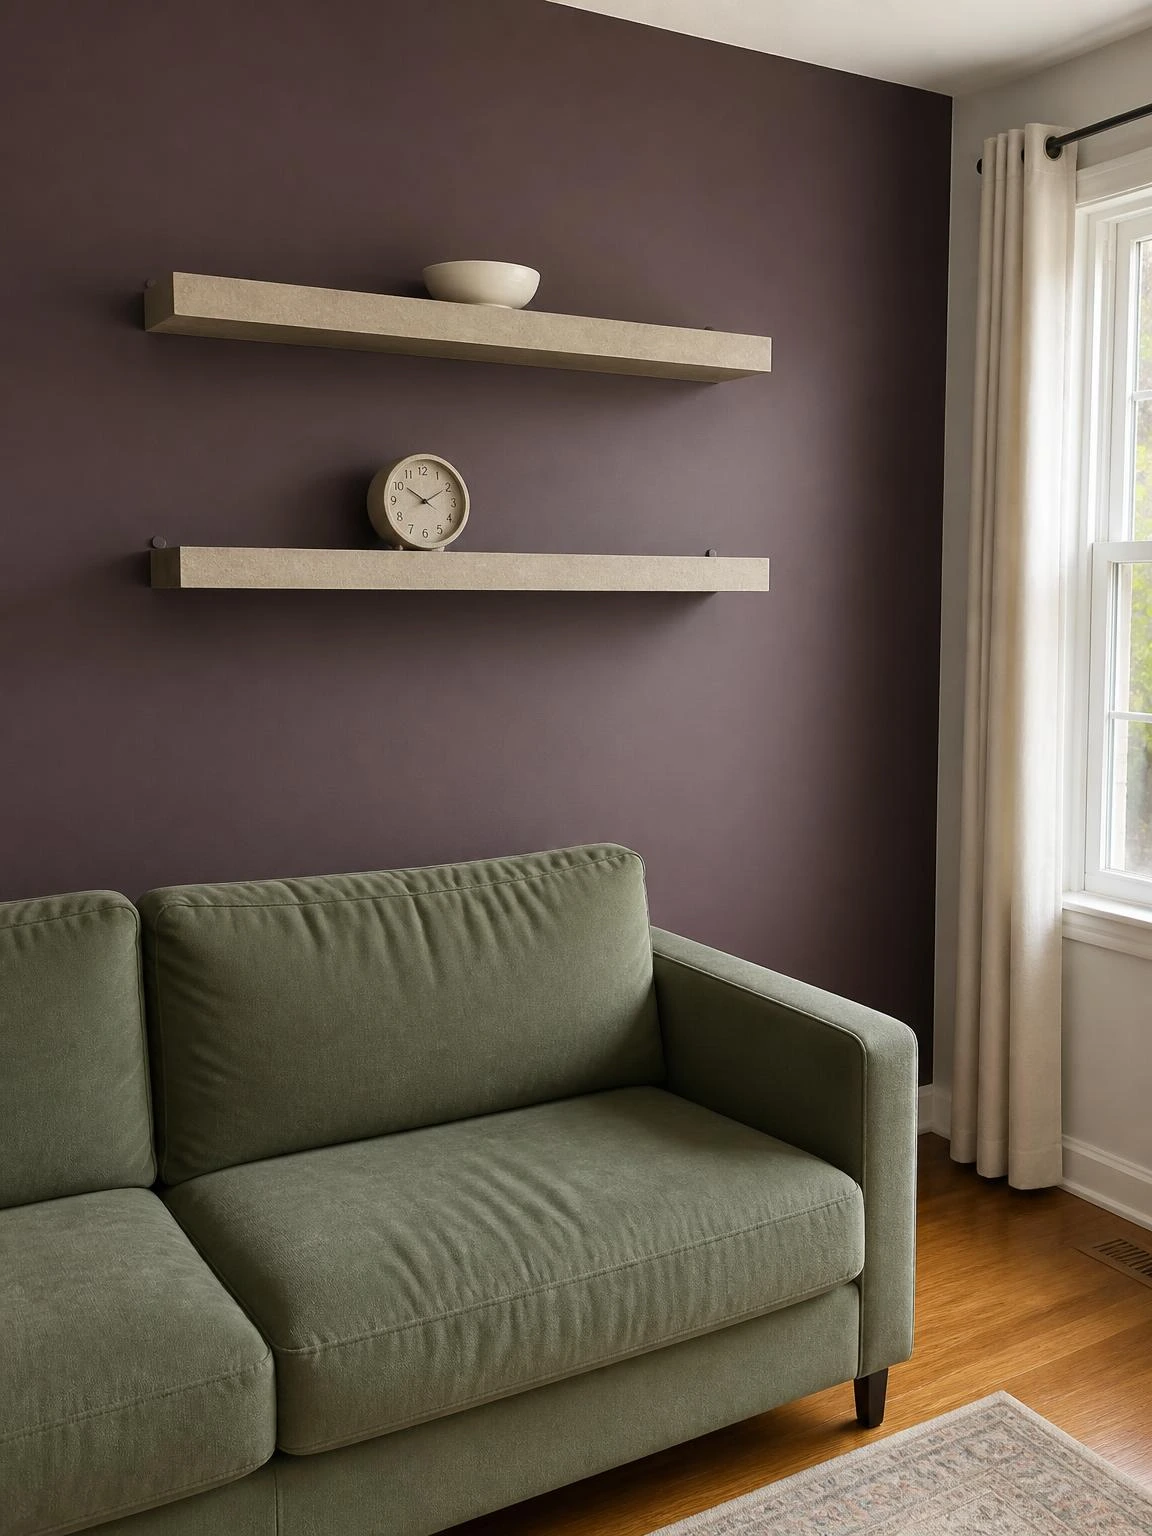
A muted plum accent wall with nothing on it feels unresolved, and floating shelves fix that while adding actual usable surface area.
Stone-colored MDF shelves with hidden bracket hardware sit cleanly against the wall without the visual clutter of visible corbels or L-brackets.
Eye level is the practical target height, roughly 57 to 60 inches from the floor to the shelf surface, so displayed objects sit within normal sightlines rather than above them.
A stud finder is not optional here; drive screws into at least one wall stud per shelf for reliable load support, and use plaster-rated anchors if the wall is older lath and plaster rather than drywall.
A small ceramic bowl and a clock are sufficient on two shelves; the temptation to fill every inch usually makes the wall feel busier than before the shelves went up.
A spirit level takes about 30 seconds per shelf and saves a visible tilt that is impossible to unsee once the shelves are loaded.
5- Caulk a Bathtub Surround to Stop Water Damage
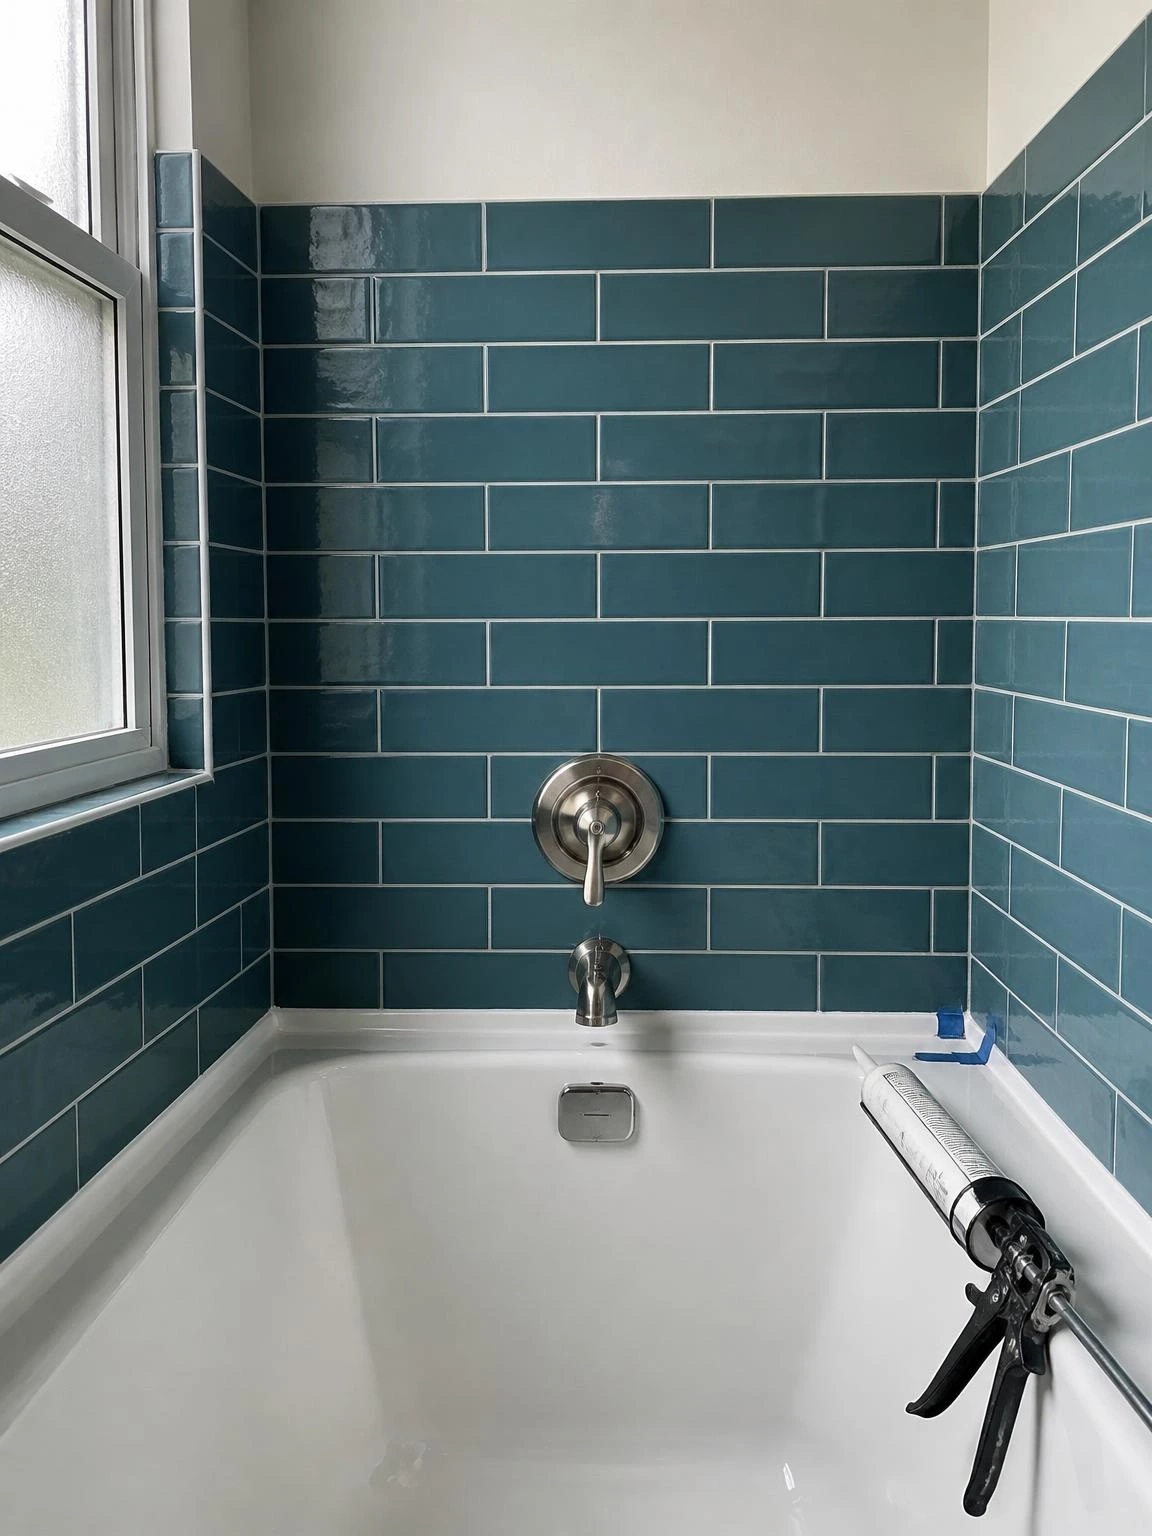
The joint between a tub rim and the tile surround is one of the most common entry points for water damage that builds silently inside a wall.
When the existing caulk shows cracking, dark staining, or any visible gap, the repair is genuinely urgent rather than cosmetic.
Scrape out all of the old caulk with a plastic scraper and a utility knife, then wait until the joint is completely dry before applying anything new; 100% silicone caulk applied over damp grout peels away within weeks.
Apply painter’s tape on both sides of the joint to get a clean straight line, then lay a single continuous bead with a caulk gun and smooth it with a caulk finishing tool or a wet finger.
Pull the tape off while the silicone is still wet, before it skins over, for the sharpest edge.
Deep teal tile with a crisp white caulk line actually looks finished and deliberate, which is a small bonus on top of the water protection.
6- Lay Peel-and-Stick Vinyl Plank Flooring in a Laundry Room
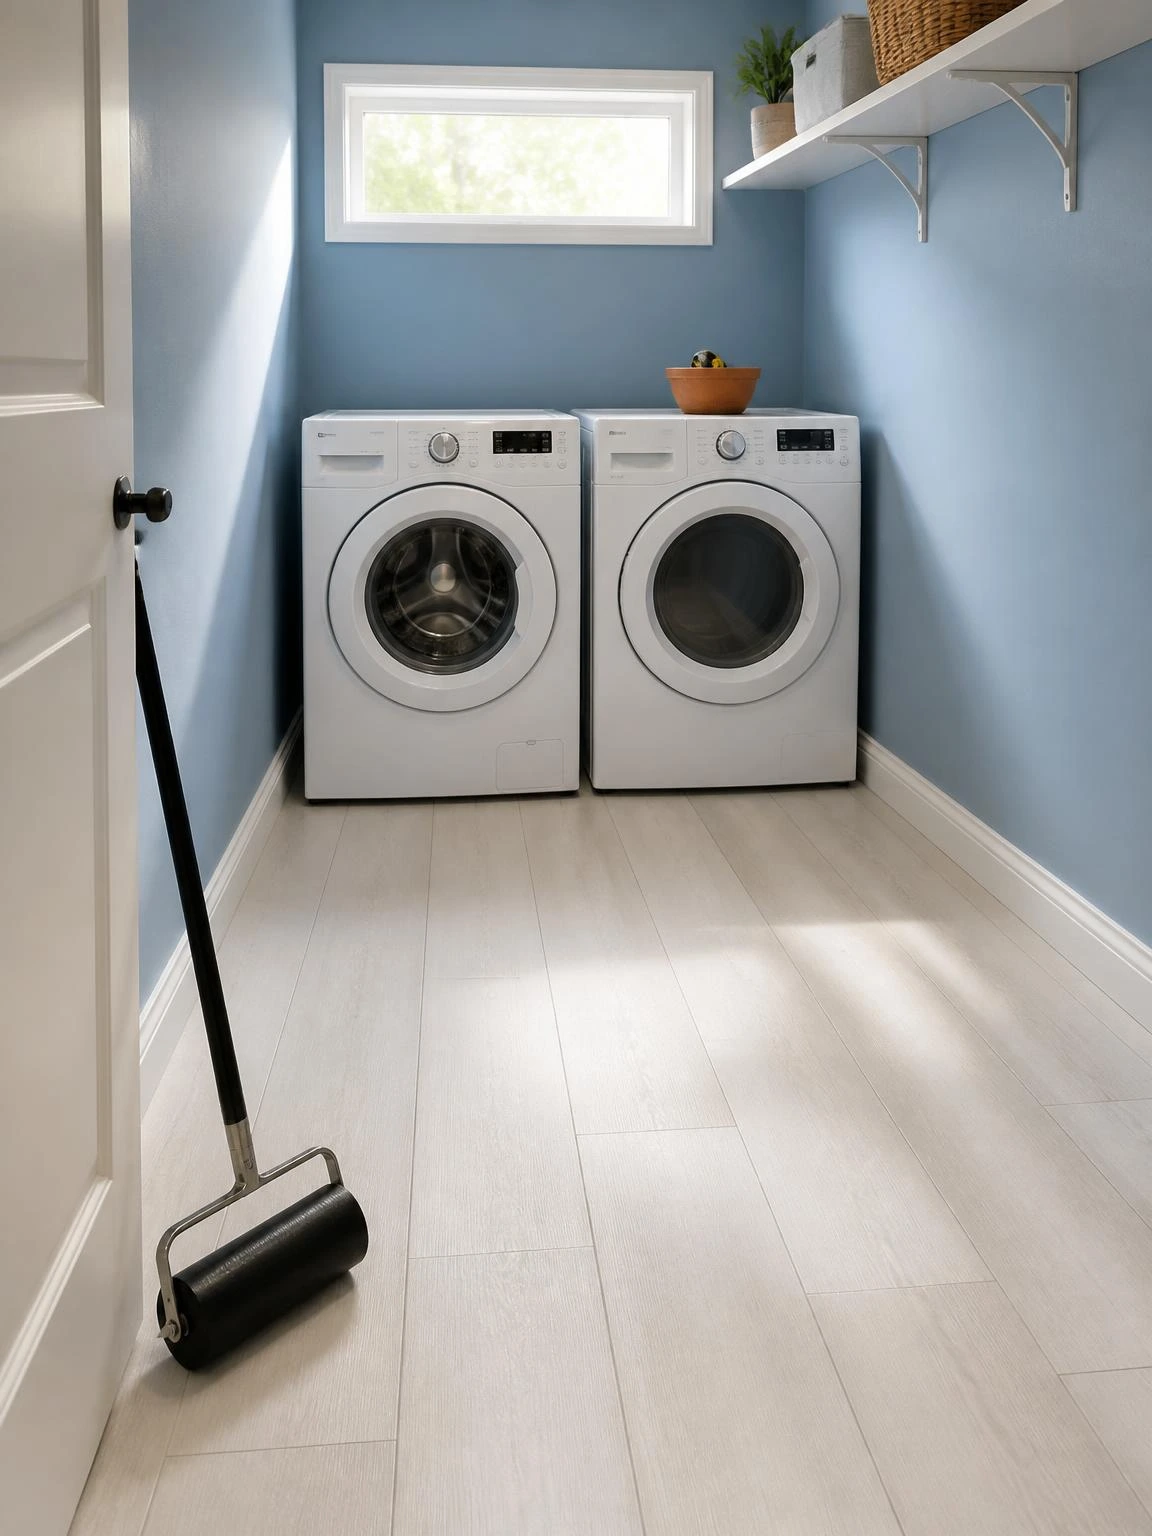
Laundry rooms get almost no decorating attention despite being used every single day, and a tired concrete or vinyl floor makes the whole space feel grimmer than it needs to.
Warm white vinyl plank tiles against dusty blue walls read as clean and bright even under a single high window.
Sweep and mop the subfloor first, then check for any high spots or low spots greater than about 3mm, since peel-and-stick planks telegraph unevenness directly through the finished surface.
Start from the center of the room and work outward so that cut pieces at opposing walls are roughly equal in width rather than having one full row on one side and a sliver on the other.
After laying all the planks, roll the entire floor with a rubber roller to activate the adhesive fully and eliminate any air pockets sitting under the tiles.
This product is not suitable for floors with radiant heat underneath, so check the subfloor type before buying.
7- Swap a Dated Light Fixture in a Dining Room
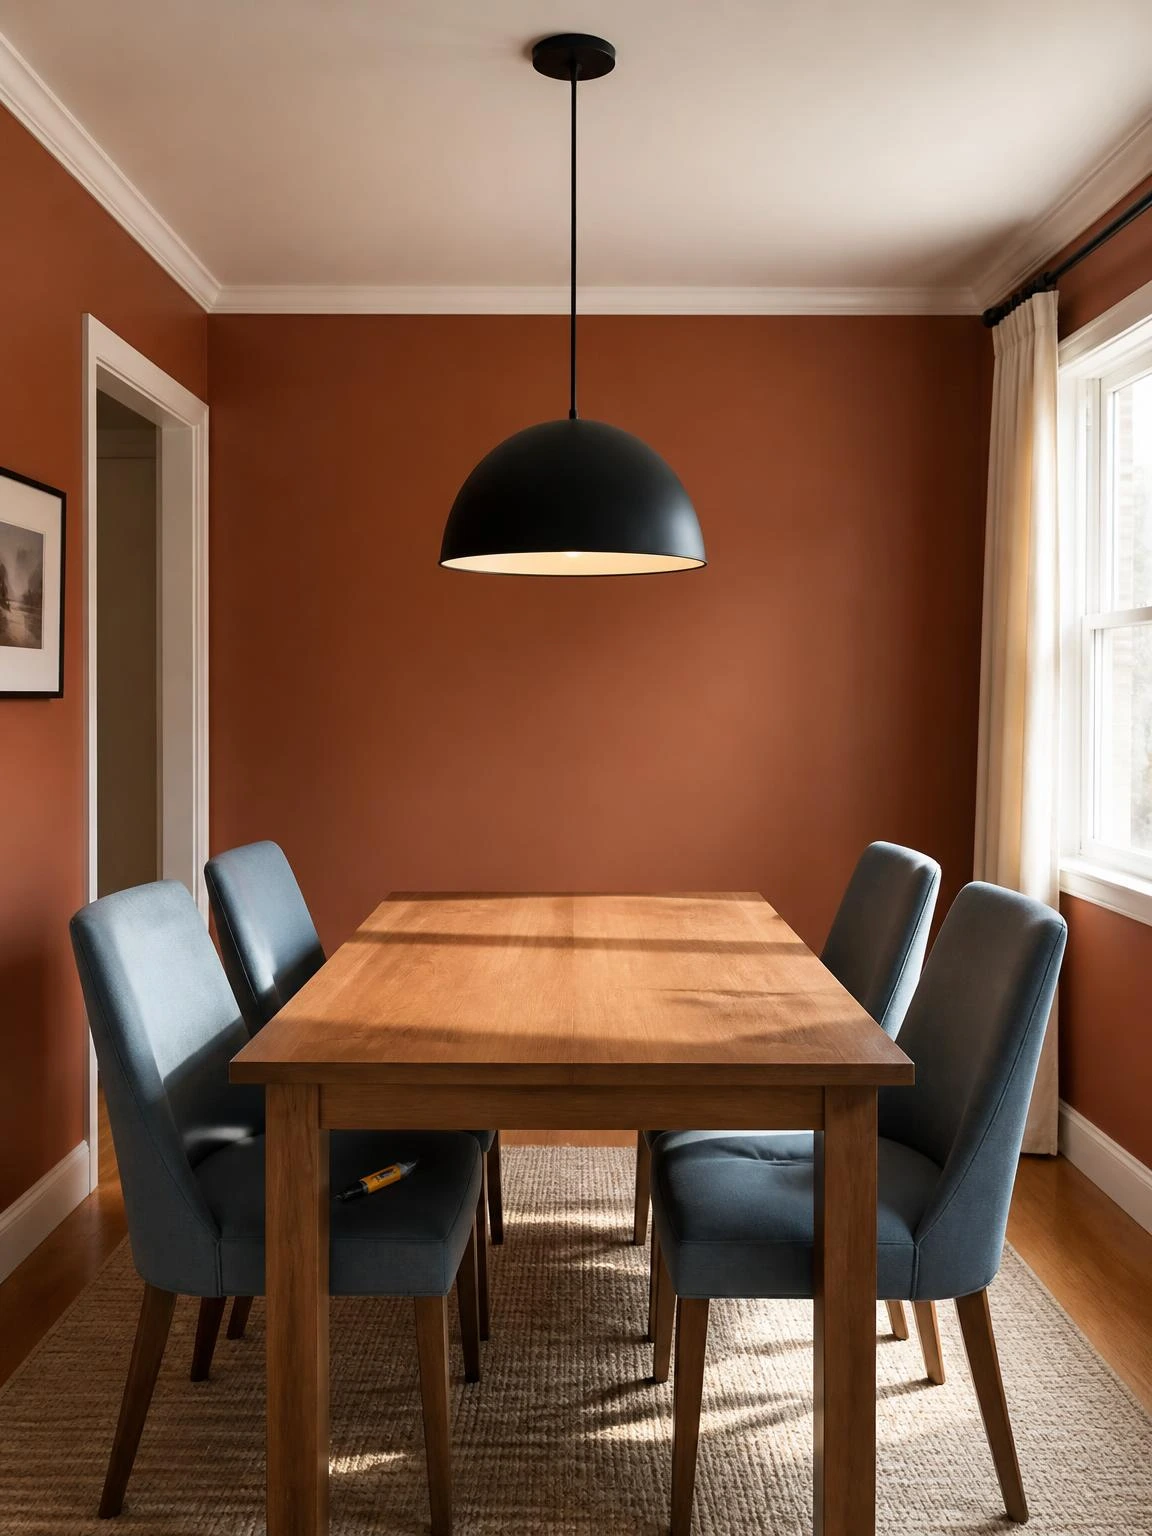
A brass boob light or a basic flush dome over a dining table undercuts everything else in the room, regardless of how well the furniture is chosen.
A matte black dome pendant centered over the table works with rust walls and soft blue chairs without requiring any other changes to the room.
The practical first step is always confirming the circuit is off at the breaker using a non-contact voltage tester before touching any wiring, not just flipping the wall switch.
Most pendant fixtures come with a canopy that covers the ceiling box, but check that the existing box is rated for the weight of the new fixture before mounting; a fan-rated box handles heavier pendants more safely than a basic box.
Pendant height over a dining table generally works between 28 and 34 inches from the tabletop to the bottom of the shade, though ceiling height affects the final call.
If the wiring situation looks more complex than a straight swap, a licensed electrician is the right next step rather than improvising.
8- Patch and Paint a Damaged Drywall Section
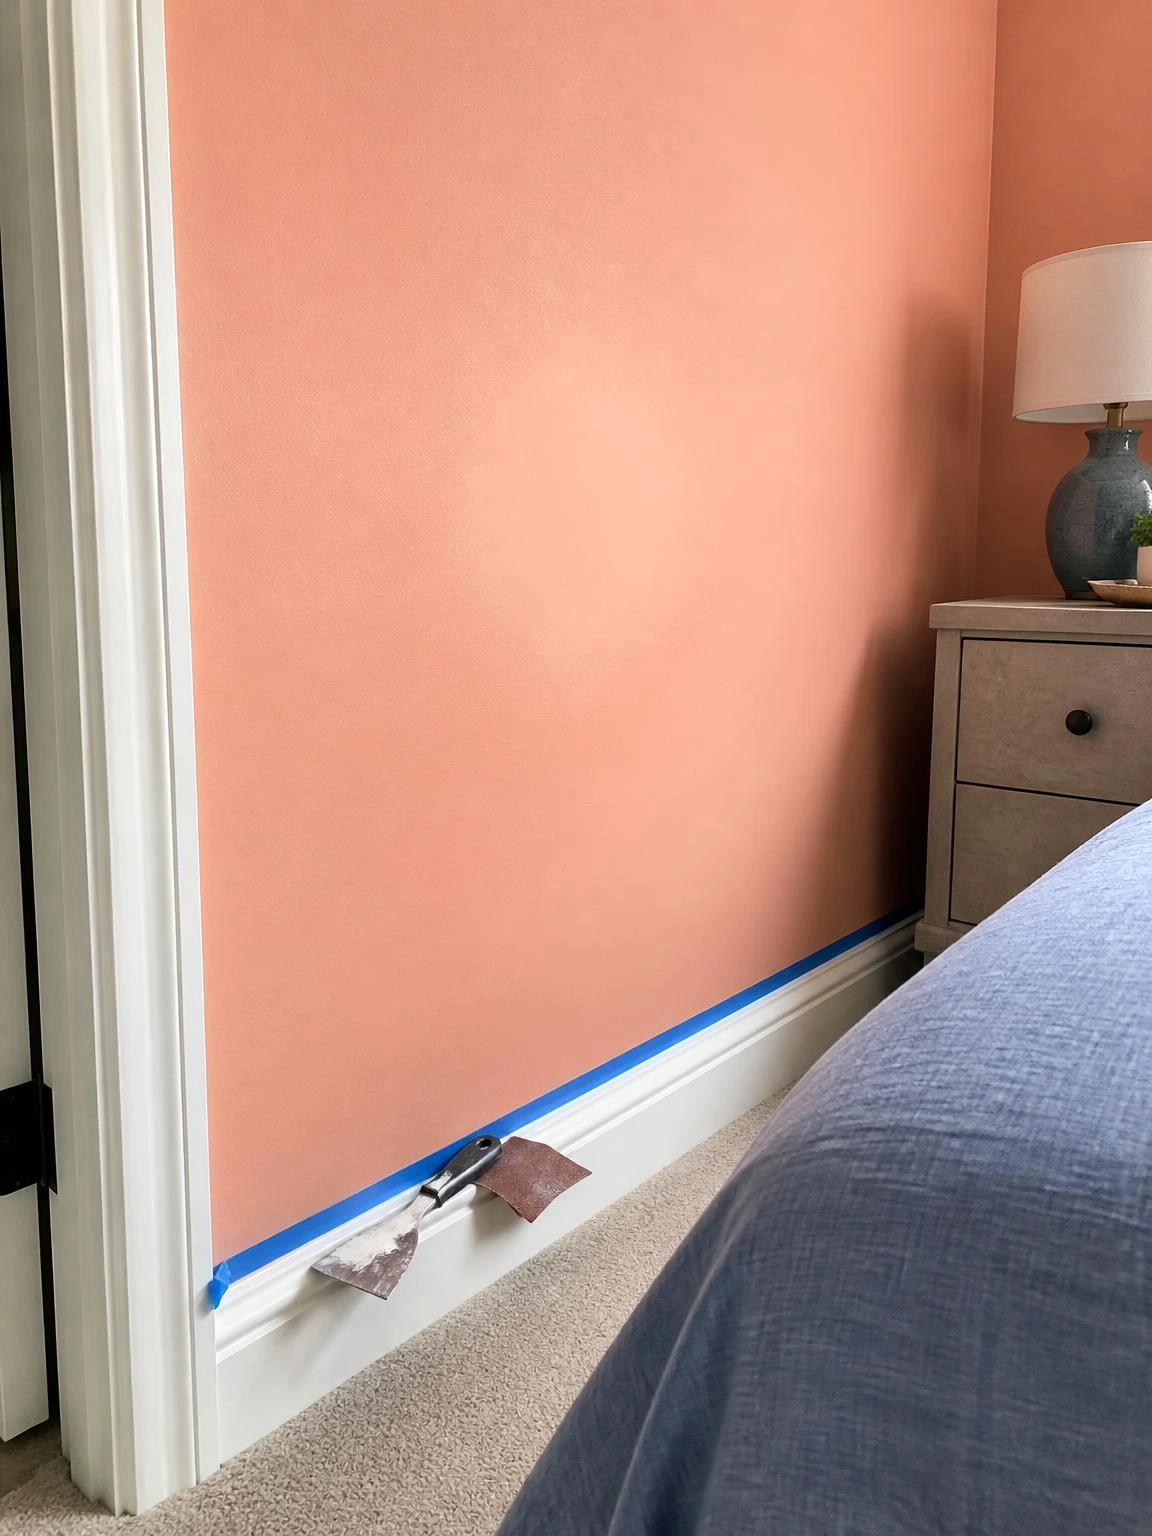
A doorknob hole or an old picture-hook crater in a soft coral bedroom wall is visible every single morning until someone finally deals with it.
A self-adhesive drywall mesh patch covers holes up to roughly the size of a dinner plate and gives the joint compound something to grip.
Apply pre-mixed joint compound over the mesh with a wide putty knife in two thin coats, allowing each coat to dry and sanding lightly with 120-grit sandpaper before the next pass.
The painting step is where most patches become obvious; feather the matching paint coat outward past the patch edges in two overlapping passes rather than painting only over the repair, which shows the sheen boundary clearly.
Tinted primer under the finish coat helps the patch absorb paint at the same rate as the surrounding wall, which reduces visible texture differences.
Holes significantly larger than a dinner plate may need a backing board cut into the cavity for structural support before any compound goes on.
9- Install a Programmable Thermostat in a Hallway
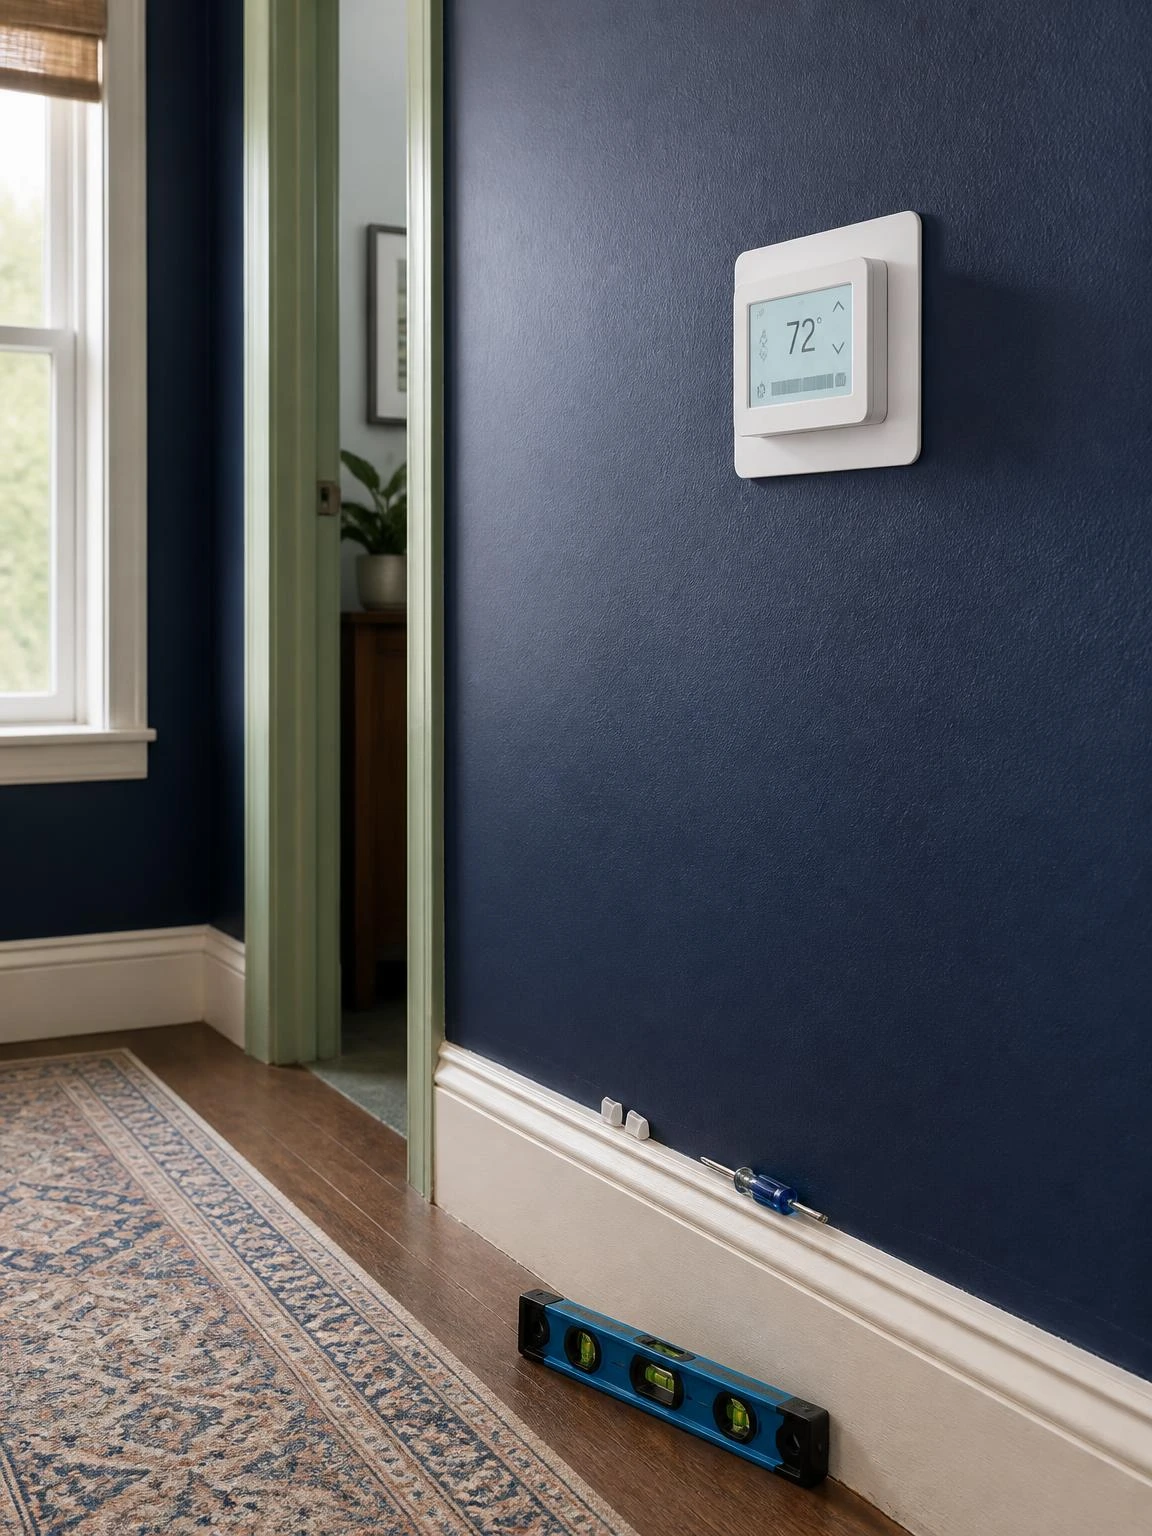
An old dial thermostat in a navy-painted hallway heats or cools the house on a fixed schedule that ignores when people are actually home, and energy costs reflect that.
Programmable thermostats are not all wired the same way, so before buying, photograph the existing wiring with a phone and note the letter labels on each terminal.
Wrap a piece of tape around each wire and label it before disconnecting anything so the reconnection at the new thermostat is straightforward rather than a guessing exercise.
The new thermostat mounts at roughly 52 to 60 inches from the floor and should sit on an interior wall away from drafts, direct sunlight, or supply vents, all of which skew its temperature readings.
A small level ensures the digital display sits straight on the wall, which sounds minor but reads as sloppy if it is visibly off.
Homes with older multi-wire HVAC systems, particularly those with separate heating and cooling equipment, should run a compatibility check on the manufacturer’s website before purchasing a specific model.
10- Grout Refresh Existing Bathroom Floor Tile
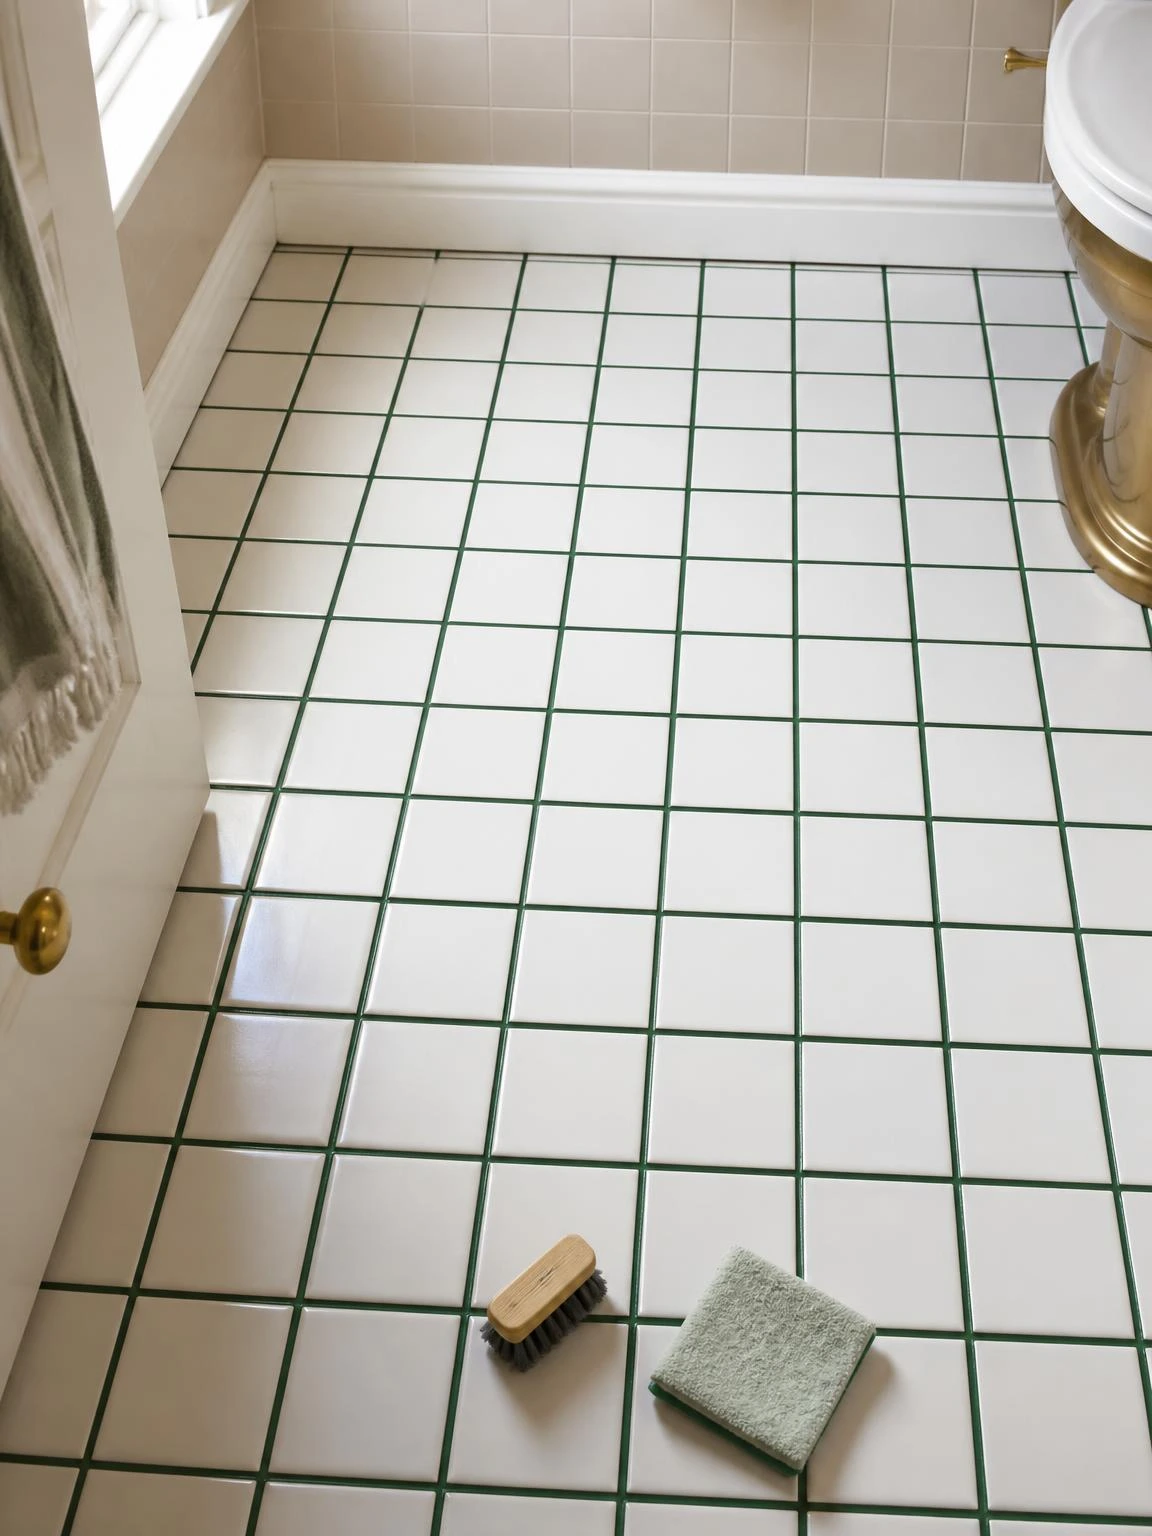
White square floor tiles with dark gray or stained grout lines make a bathroom feel dingy no matter how clean the rest of the room is.
Grout colorant is a tinted surface coating applied over existing grout lines, and forest green on white tile is a specific choice that turns a plain floor into an actual design detail.
Scrub every grout line with a dedicated grout cleaner and a stiff-bristle brush before applying any colorant; residue and soap scum prevent even absorption and leave a patchy result.
Apply the colorant with a small stiff-bristle applicator brush, working in one direction along the grout lines and wiping excess off the tile face before it dries.
One coat is rarely enough; two thin applications give a more even and durable result than one heavy one.
Grout colorant is a surface coating, not a penetrating sealer, so it wears faster in a heavily used walk-in shower than on a vanity or wall tile area.
11- Hang a Full-Length Mirror to Expand a Small Bedroom
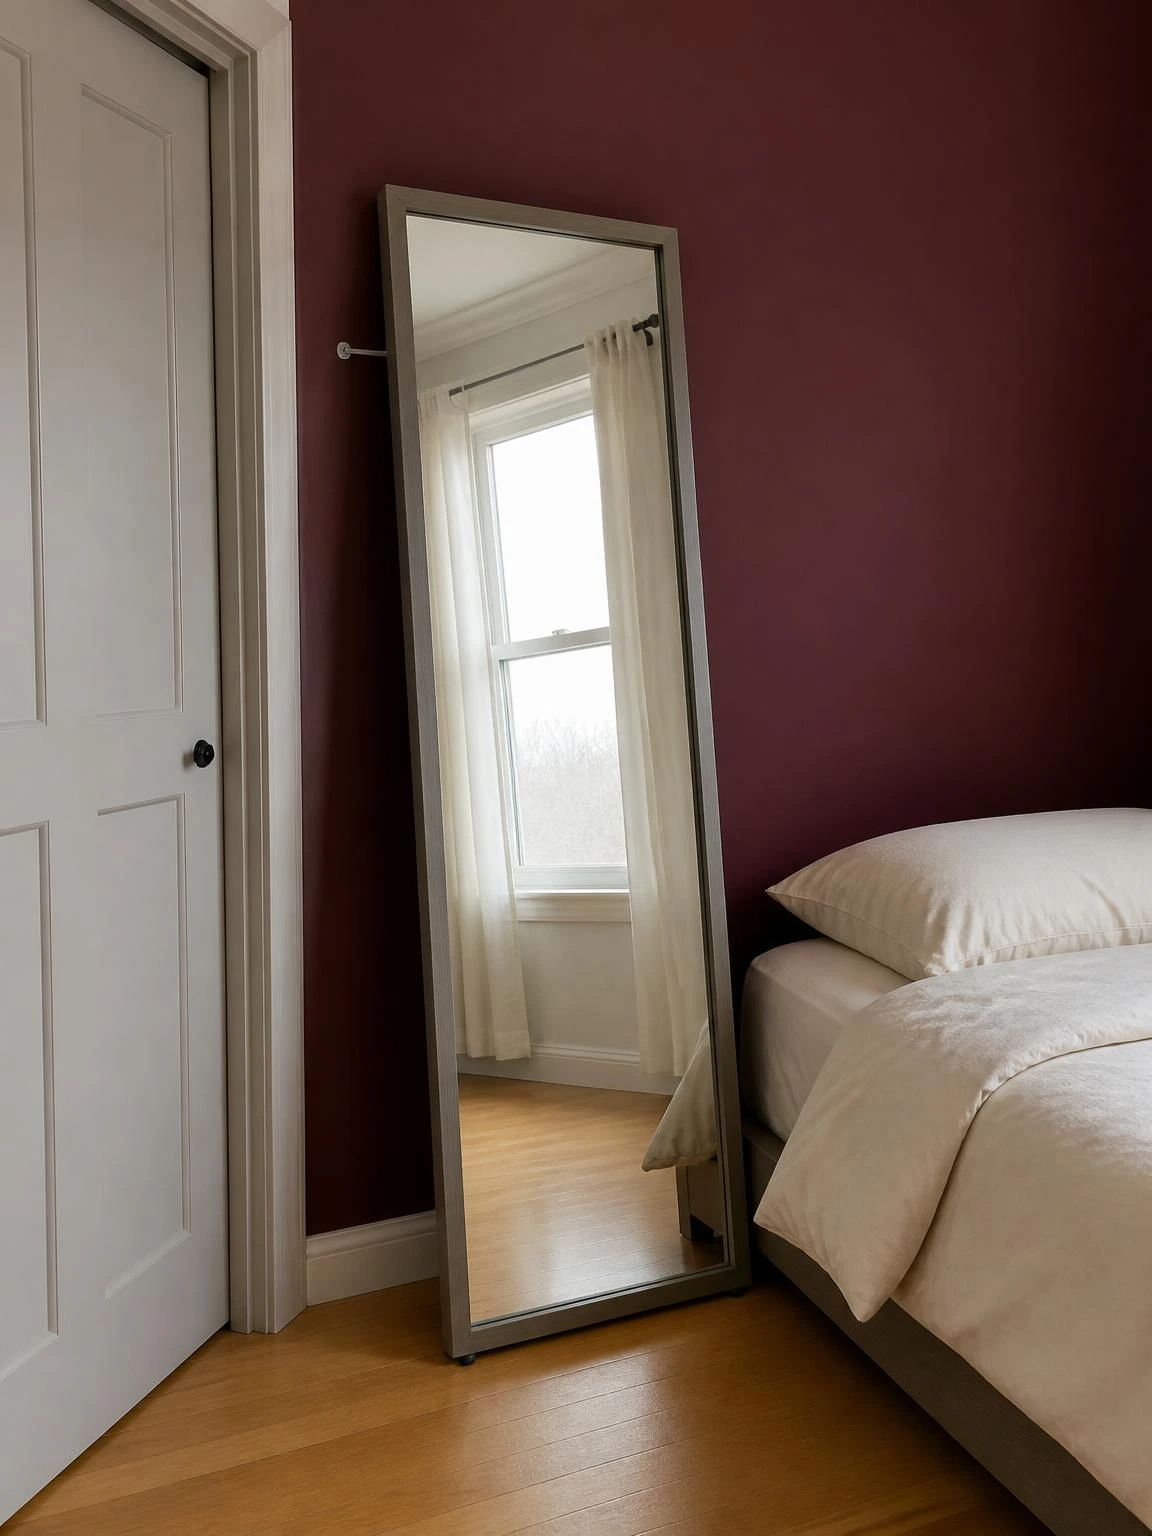
A compact bedroom with a burgundy accent wall can feel closed in, and a full-length mirror leaning against the wall beside the closet door is one of the simplest ways to push that feeling back.
The mirror reflects the opposite window rather than another wall, which is what actually creates the sense of more space rather than just adding a large object to the room.
A warm gray frame picks up the stone tones in the floor or bedding without competing with the wall color.
A leaning mirror needs an anti-tip anchor strap fixed from the top of the frame to the wall, particularly in a bedroom where children might pull on it or it could be knocked forward.
Stick non-slip rubber pads to the base feet so the mirror cannot slide forward on a smooth hardwood or laminate floor.
The placement beside the closet door is practical as well as visual; people actually use a full-length mirror more when it is adjacent to where they dress.
12- Seal a Drafty Window Frame with Weatherstripping
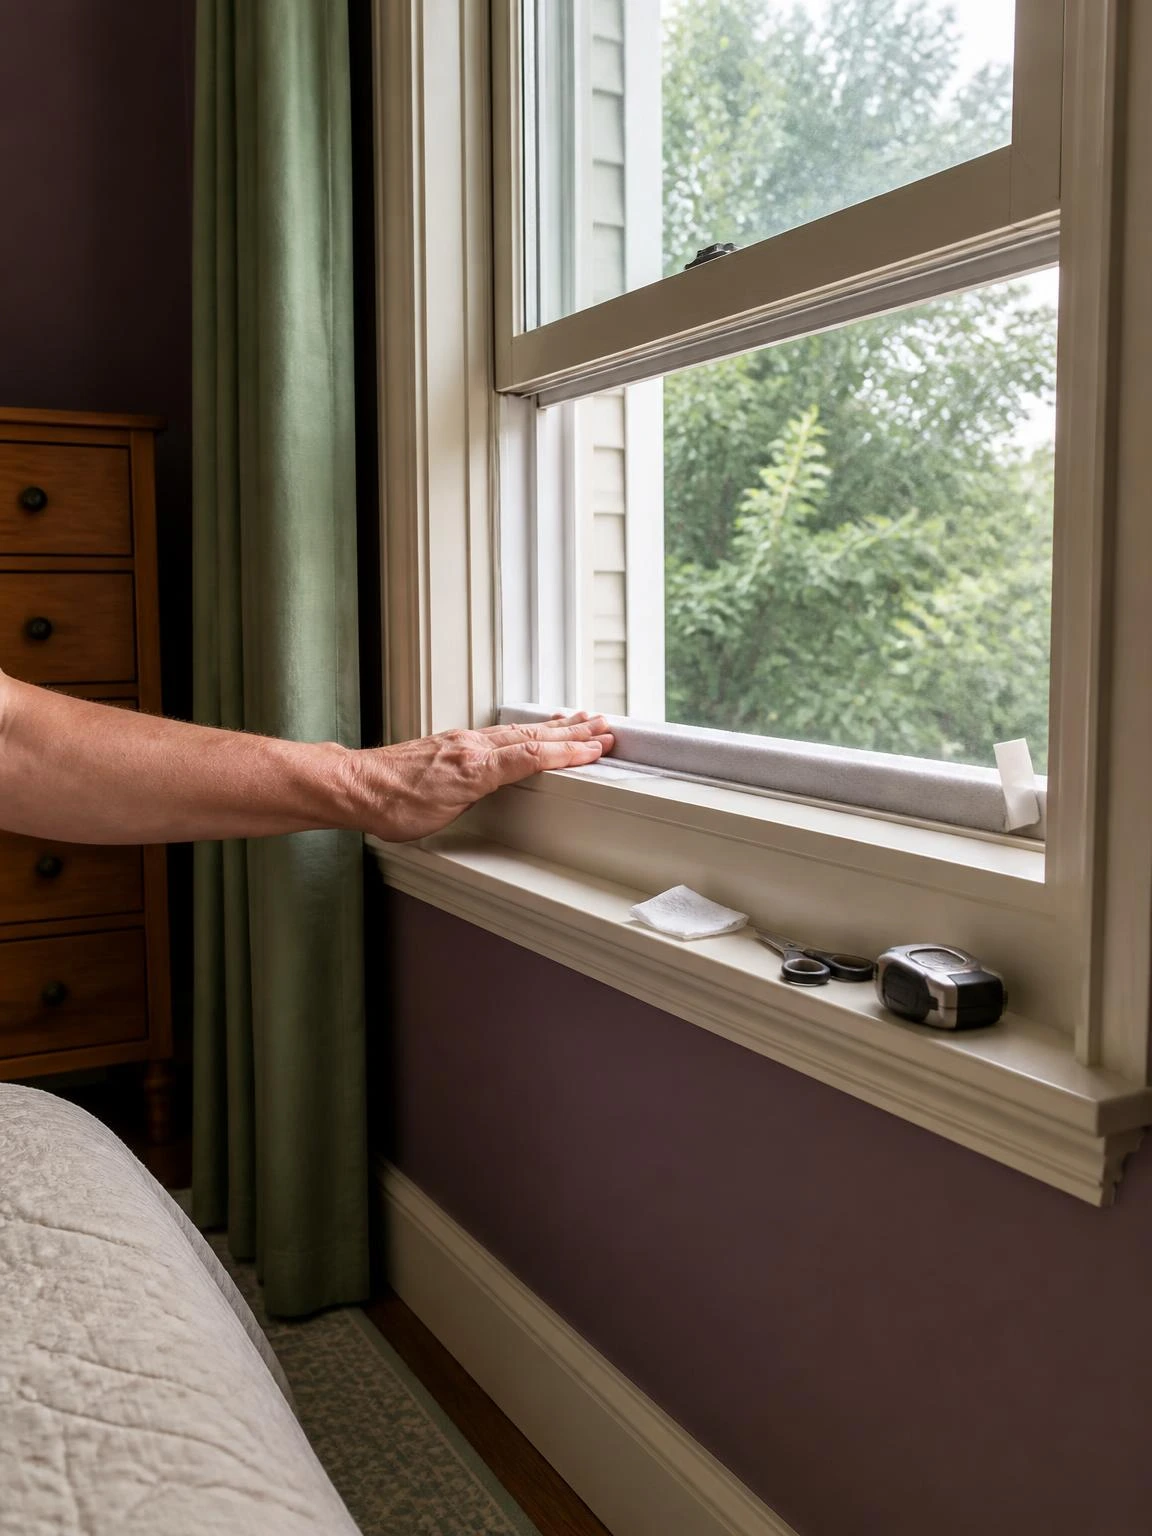
A cold draft from a double-hung window in a muted plum bedroom is usually coming from the lower sash channel rather than the glass itself.
Self-adhesive foam weatherstripping is the most accessible fix: cut it to length, wipe the channel with isopropyl alcohol, let it dry, and press the strip firmly into place.
The alcohol step matters more than it seems, because any dust or residue on the channel surface prevents the adhesive from bonding and the strip peels back within a week.
Press the foam down firmly along its full length rather than just at the ends so no section lifts away from the channel and lets cold air through.
Foam weatherstripping compresses with repeated use and typically needs replacing every one to two heating seasons, so it is worth checking it at the start of each autumn.
If the gap is unusually wide or the sash itself is warped, weatherstripping is a temporary measure and the sash may need adjustment or replacement.
13- Build a Simple Wooden Bed Frame Headboard
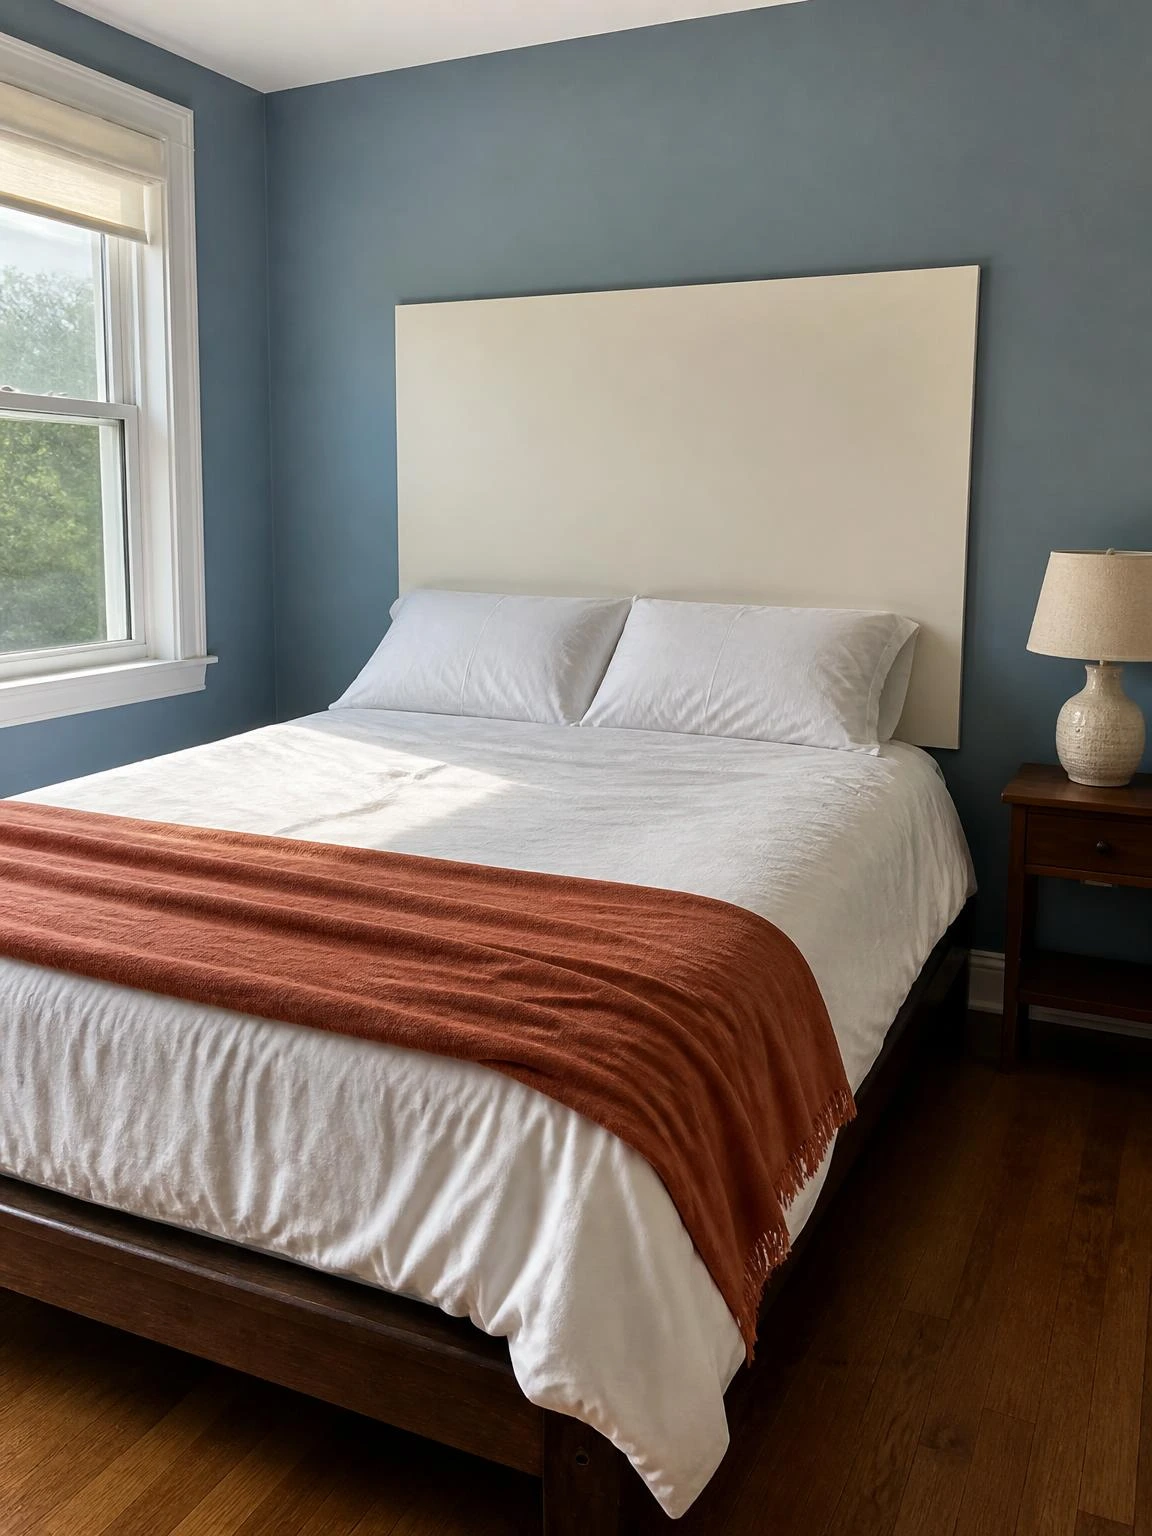
A bed pushed against a dusty blue wall with no headboard looks like a guest room that was never quite finished.
A rectangular plywood panel painted warm white and mounted flush to the wall above a full-size bed is about as simple as a headboard gets, and the clean edge reads as deliberate rather than makeshift.
Sand all panel edges to 120 grit before painting; unsanded plywood edges show the grain layers through paint and can leave splinters at the corners.
The panel height above the mattress is a matter of proportion, but roughly 24 to 30 inches of exposed headboard above the pillows works for standard ceiling heights without feeling out of scale.
Anchor the panel into wall studs or with drywall anchors rated for the panel’s weight; a large plywood sheet is heavier than it looks and should not rely only on adhesive mounting strips.
A terracotta throw at the foot of the bed pulls the warm white panel into the rest of the room’s color story without any additional wall changes.
14- Replace a Leaky Under-Sink Shut-Off Valve
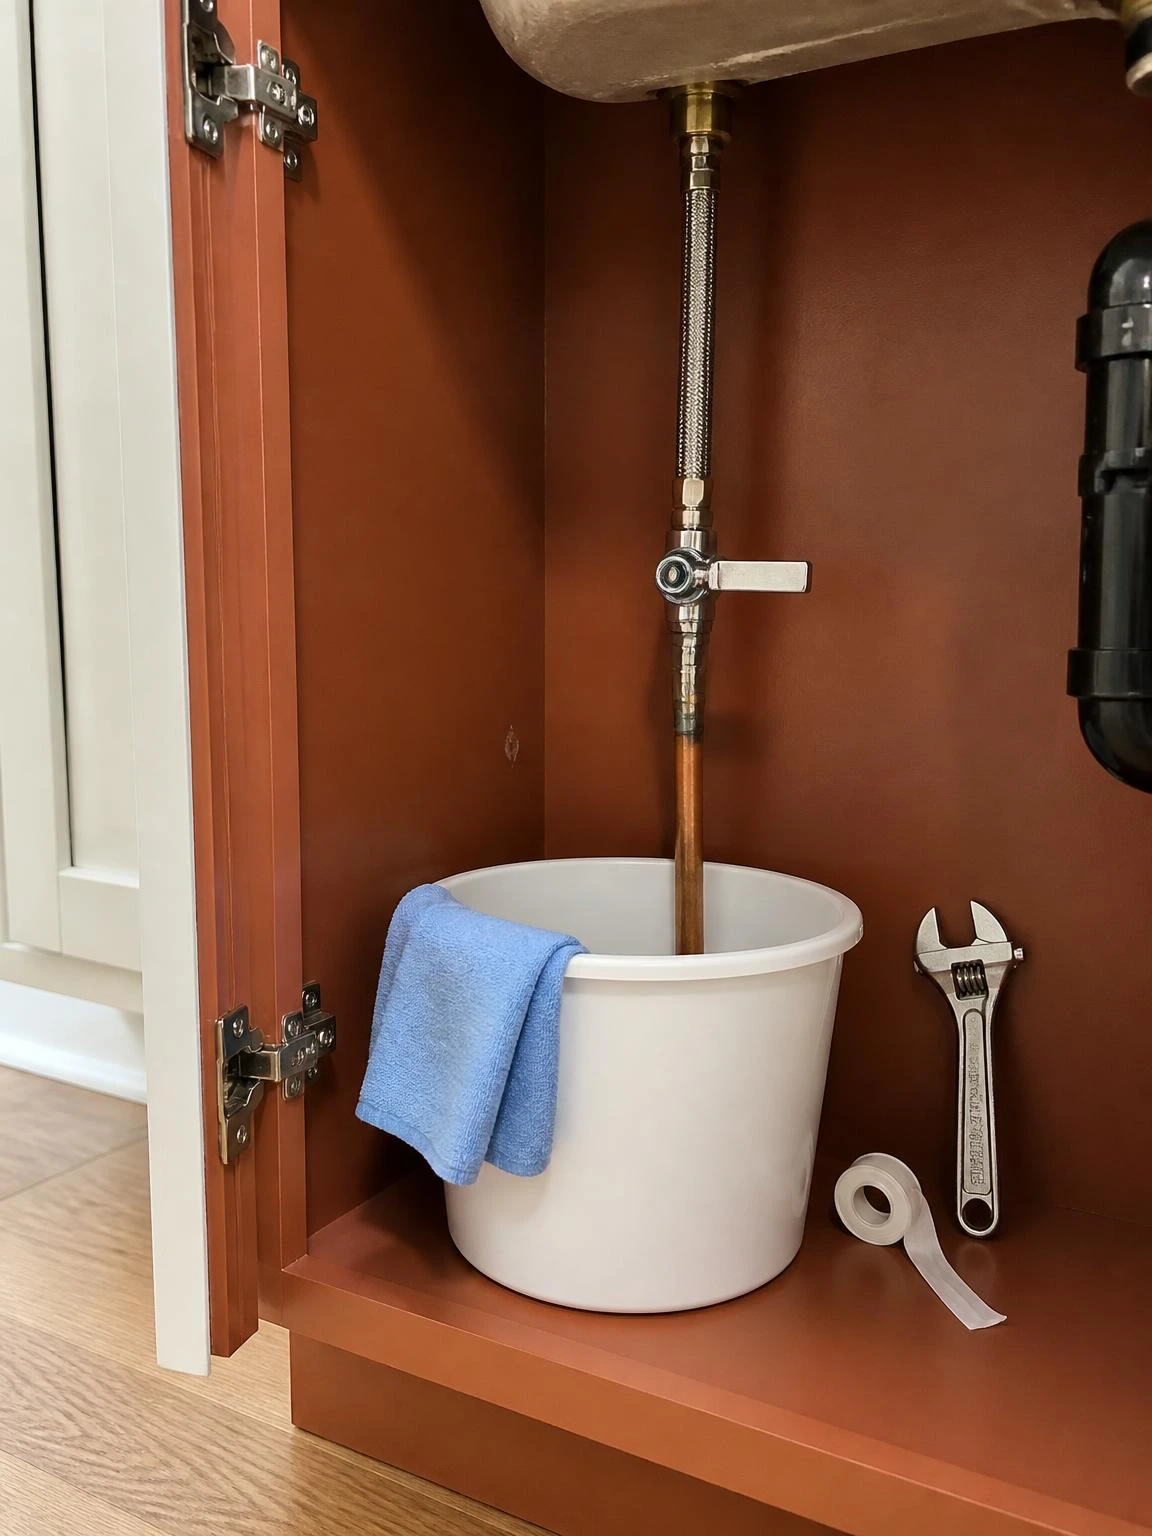
A slow drip from an under-sink shut-off valve looks minor but saturates the cabinet floor and the subfloor beneath it over time.
A quarter-turn ball valve is the modern replacement for older multi-turn gate valves, and the single-lever operation makes it far easier to shut off water quickly in a future emergency.
Before removing anything, close the main water supply to the house, place a bucket directly under the work area, and have towels ready for residual water in the line.
Wrap PTFE thread tape clockwise around the threaded fittings before tightening them, two or three passes is enough to create a water-tight seal without over-taping.
Turn the main supply back on slowly and watch the new valve connections for a full minute before closing the cabinet.
If the existing supply pipe shows heavy corrosion, flaking, or is older galvanized steel, stop and consult a licensed plumber before proceeding, since disturbing corroded pipe can cause a larger failure.
15- Add Under-Cabinet LED Strip Lighting in a Kitchen
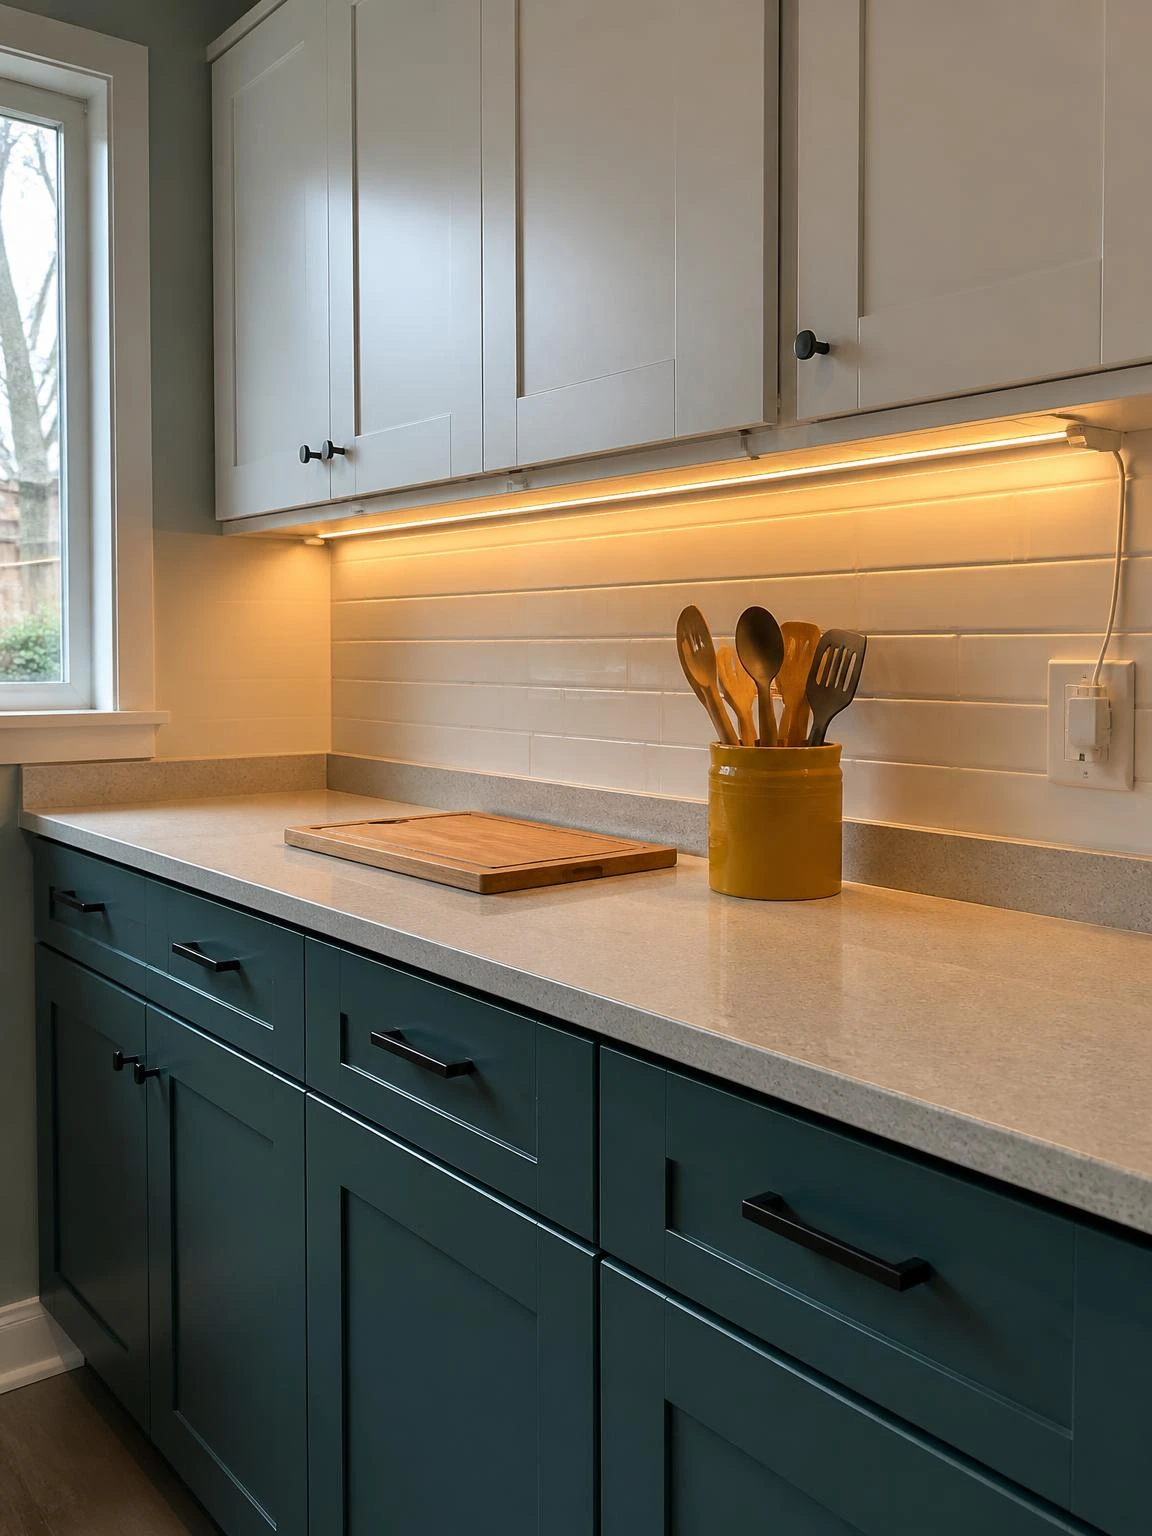
A kitchen counter in shadow during food preparation is an annoyance that overhead lighting alone almost never fixes, because the cabinets block the light source from directly above.
LED strip lights mounted to the underside of upper cabinets put warm white task light exactly where it is needed on the countertop surface below.
Mount the strip approximately 50mm back from the cabinet’s front edge so the tape body and its hot spots stay hidden from a normal standing sightline, leaving only the light output visible.
Plug-in LED strip kits with a transformer that runs to a nearby outlet are the safest DIY approach; hardwired installations inside cabinetry should be handled by a qualified electrician.
Cable clips spaced every 30cm or so keep the wire tidy along the cabinet underside rather than letting it droop in front of the light strip.
Deep teal lower cabinets pick up warm-white strip light beautifully because the contrast between the cool cabinet color and the warm light temperature makes the countertop feel almost glowing at night.
16- Re-Caulk a Kitchen Sink to Counter Joint
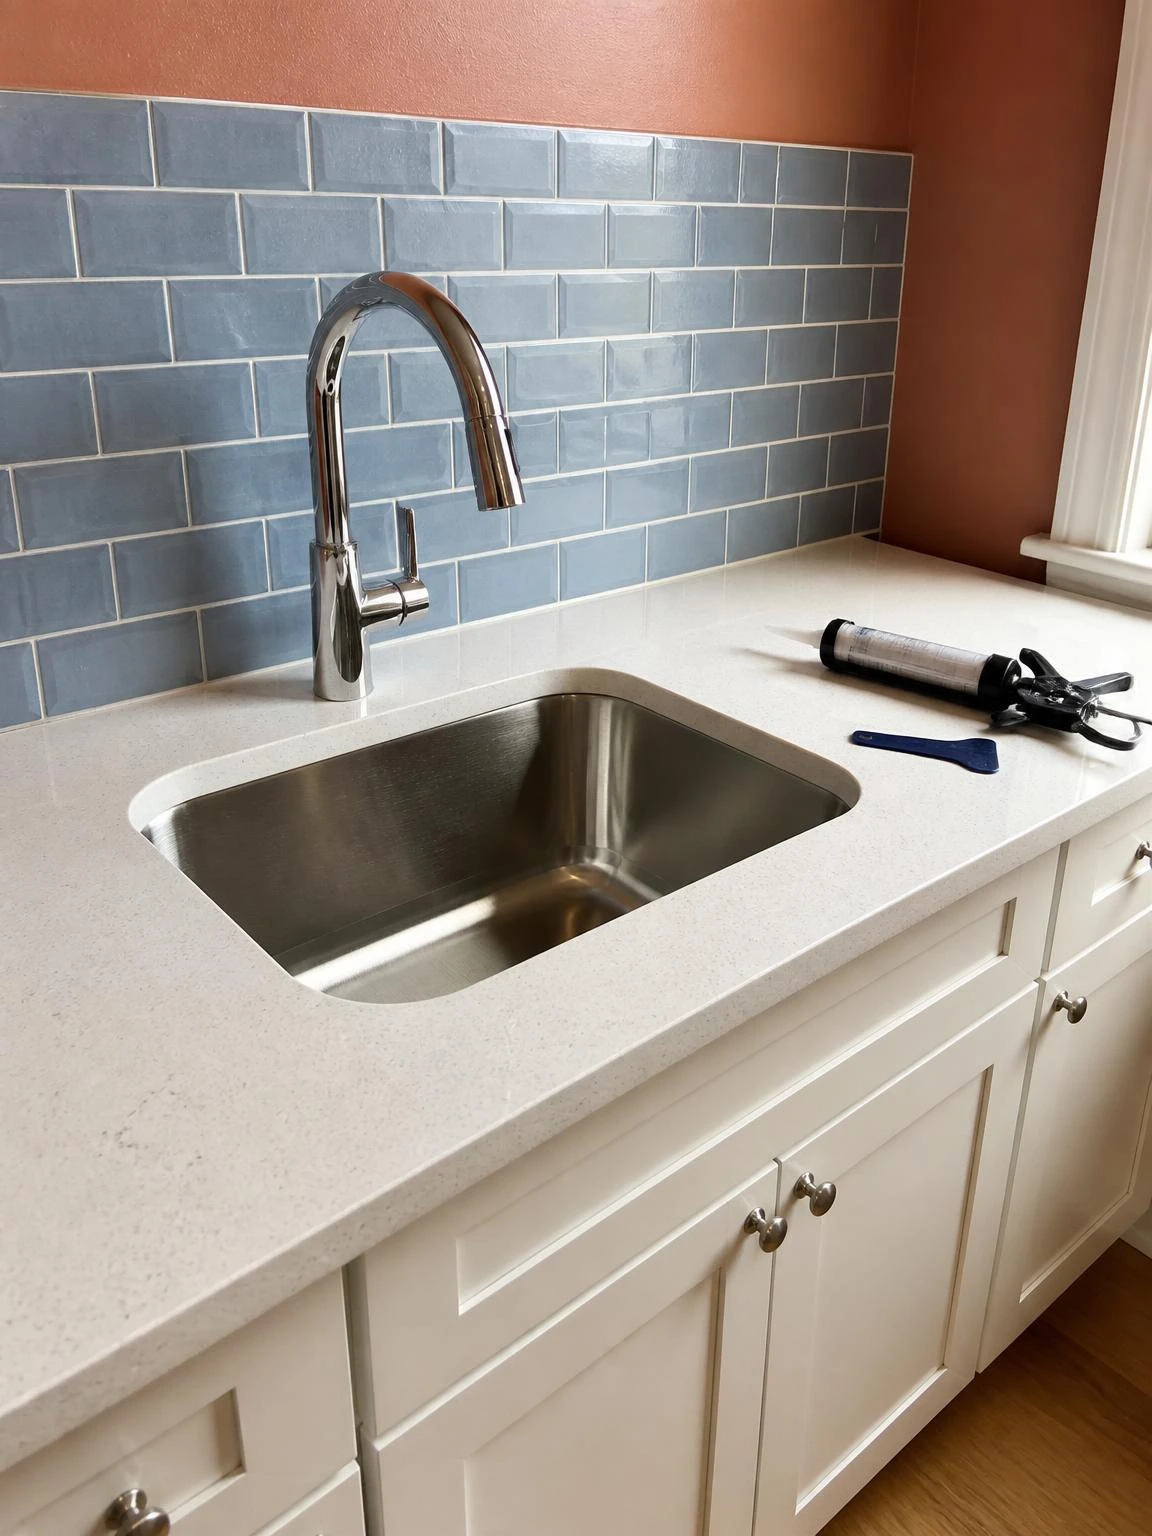
The joint between an undermount sink and a quartz countertop is one of those areas that gets cleaned around rather than cleaned, and old caulk there turns dark and papery long before most people notice.
Clear 100% silicone caulk along that perimeter joint is nearly invisible on light quartz and does not collect the mineral staining that white caulk eventually shows.
The preparation step is the whole job: remove every trace of old caulk with a plastic scraper and clean residue with isopropyl alcohol before applying anything new, because fresh silicone applied over old adhesive will not bond and will lift within weeks.
Run a single continuous bead around the full perimeter without stopping and starting, since overlapping start points are where lifting begins.
Smooth the bead with a wet finger or a caulk finishing tool and wipe away any excess immediately before it skins over.
The sink should stay dry and unused for at least 24 hours after caulking to allow the silicone to cure fully before water contact.
17- Paint a Concrete Basement Floor
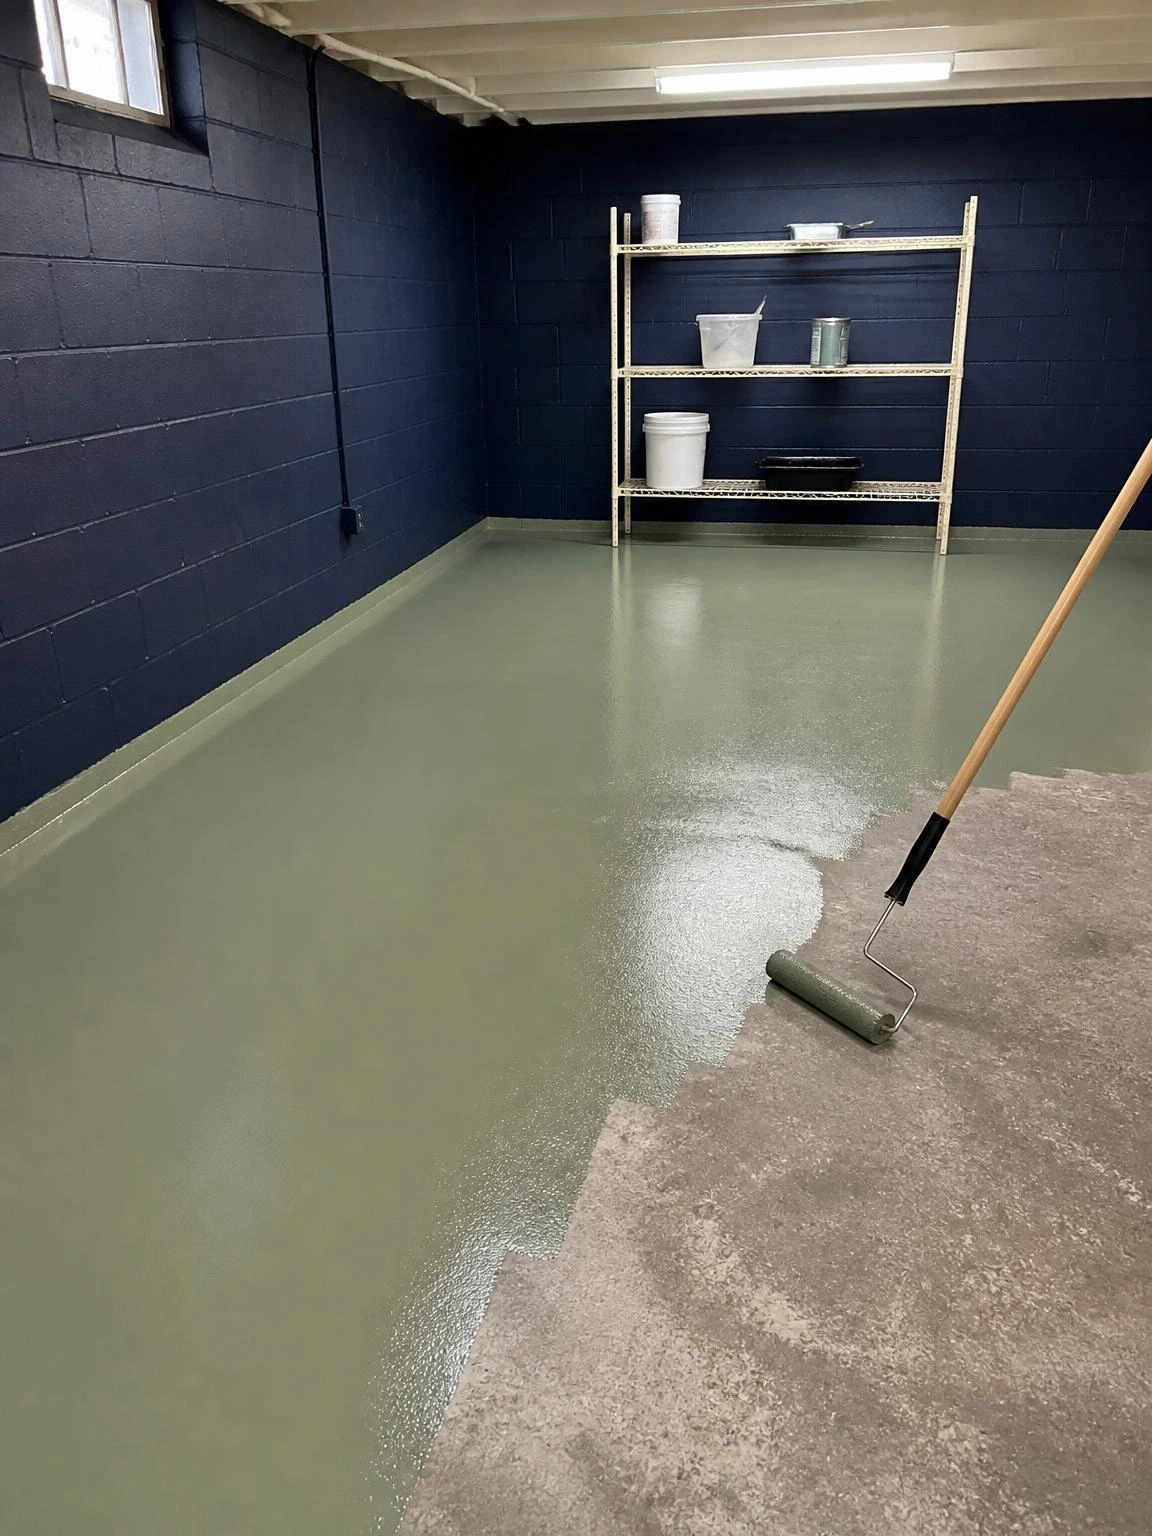
A bare gray concrete basement floor makes the whole level feel like a utility space regardless of what is stored or set up there.
A muted green two-part epoxy floor paint on a navy-walled basement is a specific combination that reads as intentional rather than institutional, and the light-reflective surface visually raises the ceiling.
The concrete must be etched with the manufacturer’s etching solution before any paint goes down; epoxy bonds to the open pores of etched concrete and sits on top of unprepped concrete, which means it peels.
Rinse the etching solution thoroughly and let the floor dry for the time the product specifies, typically 24 hours, before mixing and rolling the epoxy.
Work from the far corner toward the door and use a brush for the perimeter edges before rolling the field, keeping a wet edge moving so lap lines do not dry into visible stripes.
Epoxy will not adhere over a previously sealed or painted floor without mechanical abrasion first, such as light grinding or sanding, or the application of a compatible bonding primer.
Where do you want to go next?

Explore by topic
Recently viewed
18- Install a Door Sweep to Block Drafts
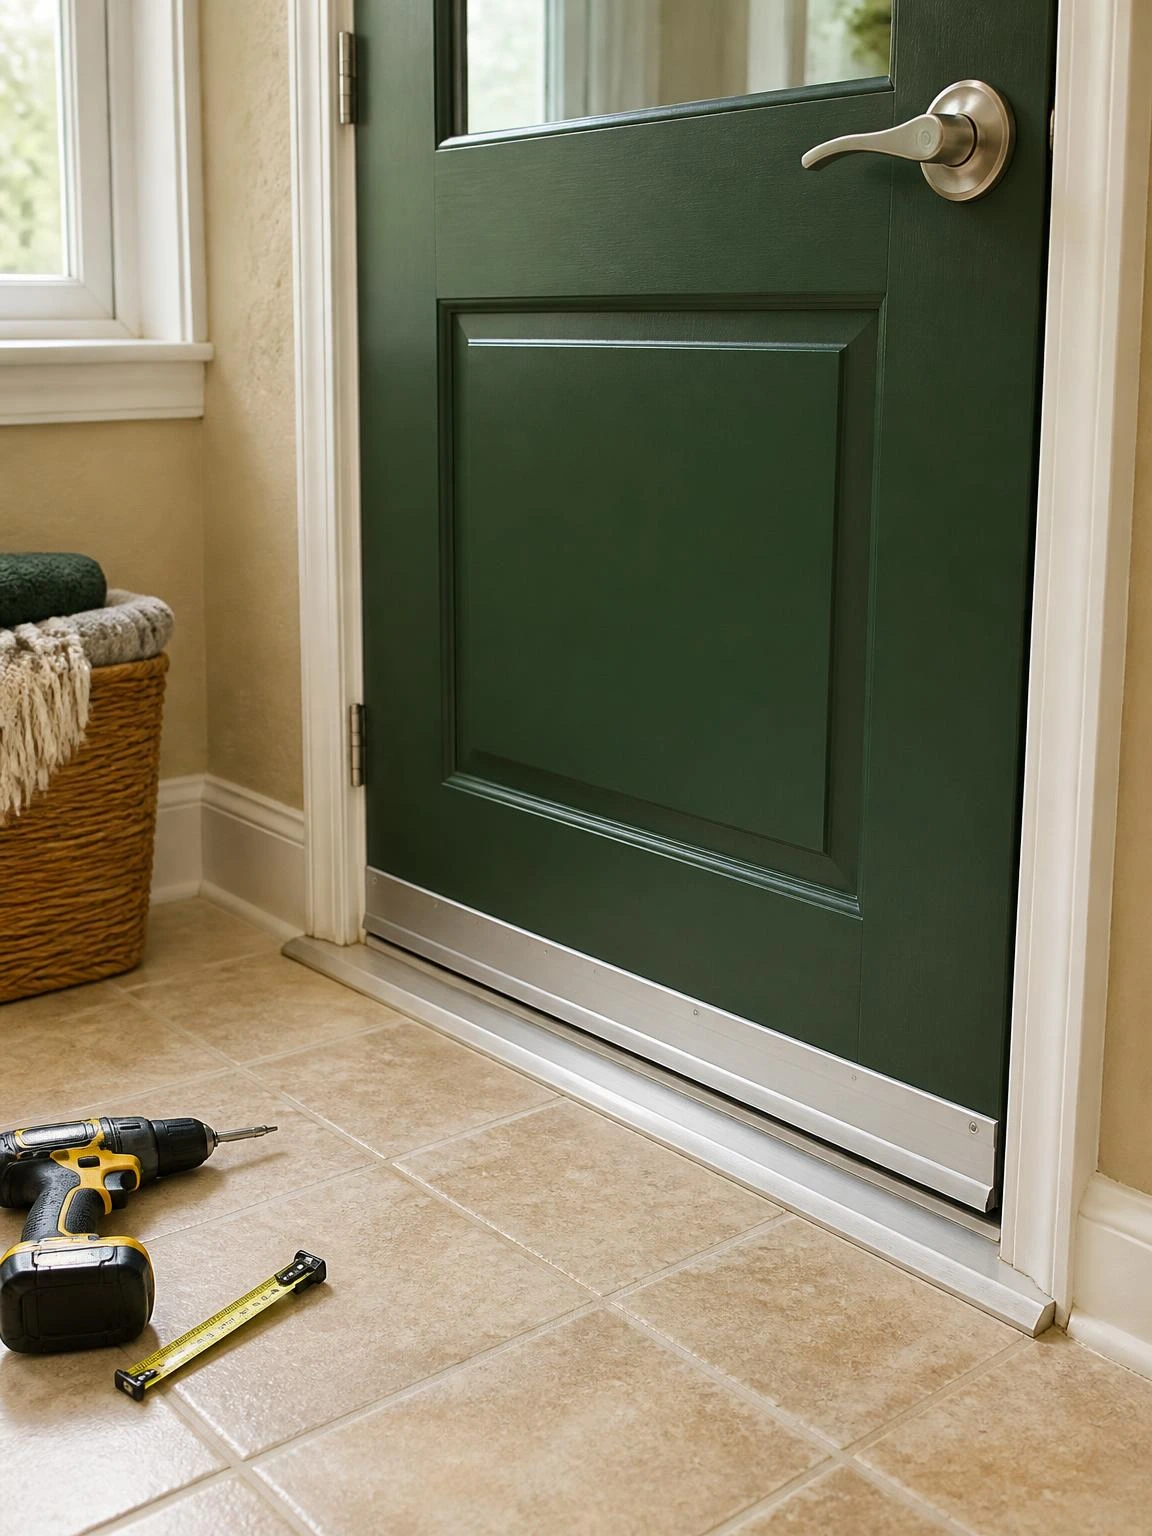
Cold air entering under an exterior door is one of the easiest drafts to find and one of the quickest to fix.
An aluminum door sweep with a rubber fin screwed to the bottom of the door closes the gap between the door and threshold without requiring any frame modification.
Hold the sweep tight against the closed threshold before marking screw hole positions, so the rubber fin makes full contact across the entire width with no gap at either end.
Pre-drill the screw holes through the door bottom to avoid splitting the door material, particularly on hollow-core interior doors where the bottom rail is narrow.
A forest green painted door with a satin nickel sweep reads as finished rather than retrofitted, since the hardware finish matches rather than contrasts with the door furniture.
Set the sweep just touching the threshold rather than pressing hard against it; a fin that drags heavily on a thick mat or rug wears out the rubber quickly and eventually prevents the door from closing smoothly.
19- Frame a Bathroom Mirror with Trim Molding
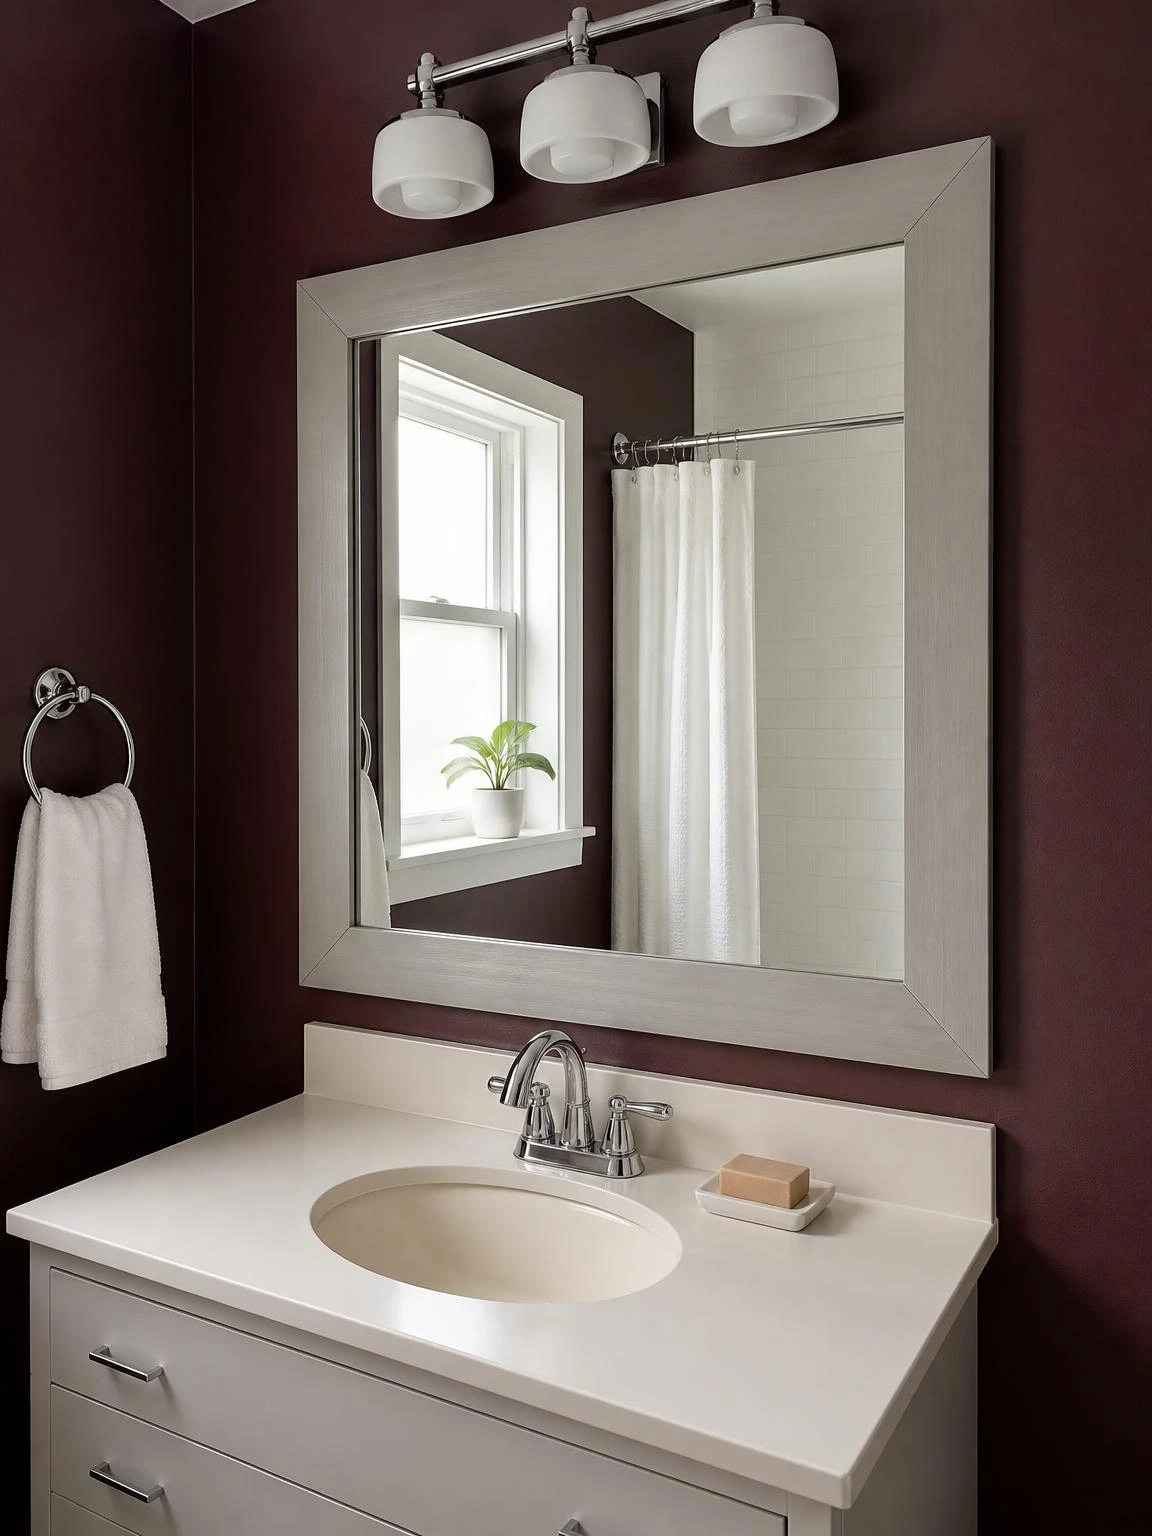
A builder-grade rectangular mirror glued flat to a bathroom wall is one of the most consistently overlooked surfaces in a first home, and adding a painted molding frame is one of the few projects that changes the whole room’s character for the cost of a few lengths of trim.
Flat MDF trim molding painted warm gray against burgundy walls with ivory ceramic below is a combination that looks as if the room was always designed that way.
Cut the molding at 45-degree mitered corners, which requires a miter saw or a hand miter box, then sand all faces lightly and apply two coats of interior latex paint before mounting.
Apply construction adhesive to the back of each piece and press firmly against the mirror face for 60 seconds per strip, then hold the joints in place with painter’s tape while the adhesive sets overnight.
The molding edges should sit flush against both the mirror face and the wall surface for the frame to look intentional rather than propped on top of the glass.
This approach only works on mirrors that are glued flat to the wall; a mirror mounted on clips sits proud of the wall and needs a different framing method that accommodates the standoff depth.
Small Projects, Real Results
Easy DIY home improvement tends to compound: fixing the caulk leads to noticing the hardware, which leads to the floor, and the house gradually starts looking like it is actually cared for.
None of the projects here require specialist skills, and most require tools that are already in a basic household kit or available inexpensively.
The ones that touch plumbing, electrical, or load-bearing walls carry specific limits, and knowing where those limits are is part of doing the work well.
A bathroom with fresh caulk, recolored grout, new pulls, and a framed mirror is still the same room, but it is a version of that room that is genuinely pleasant to use every morning.